
How to Install and Activate Adobe Photoshop Lightroom
Written by Marteen Roose
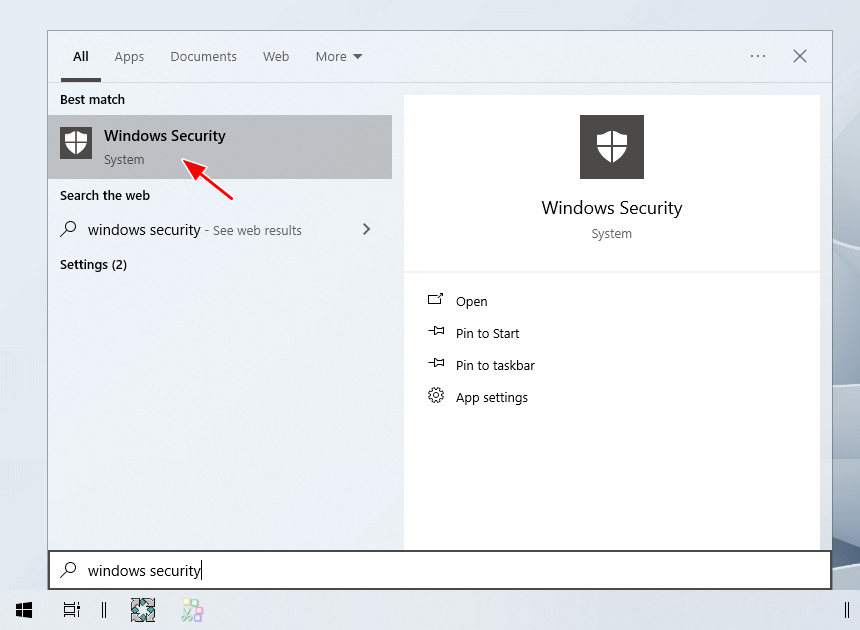
1. Before installing Adobe Photoshop Lightroom, you should disable your antivirus. To get started, click the Start menu and open Windows Security.
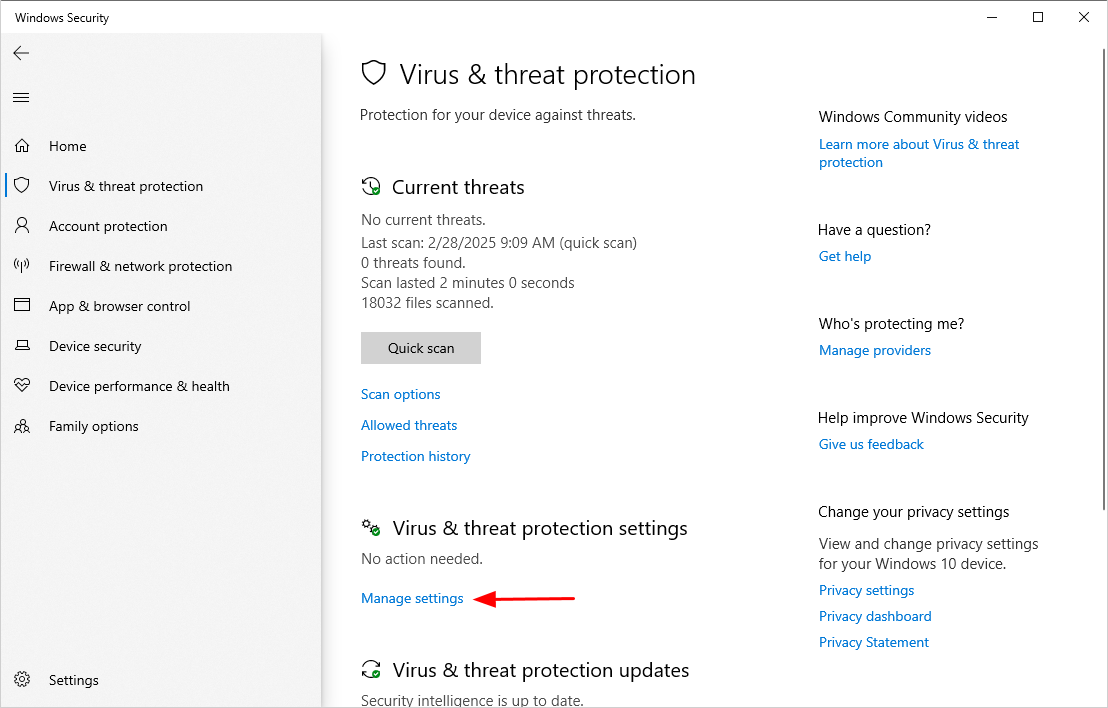
2. Click Manage settings.
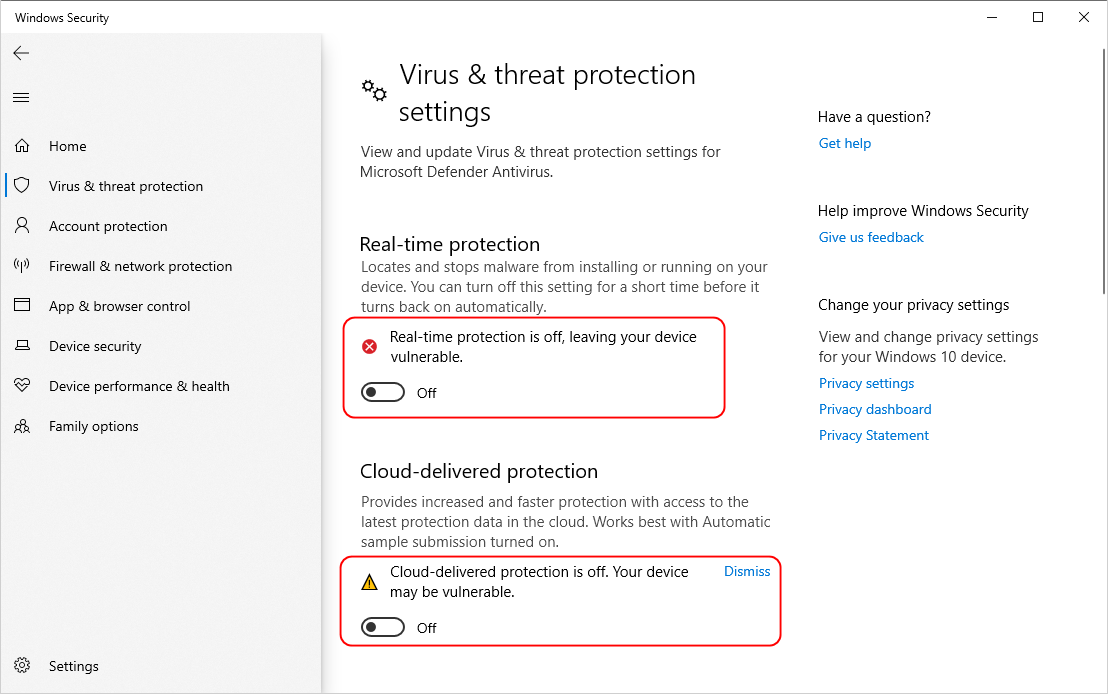
3. Click Real-time protection to disable it. Do the same to the other security features in the window.
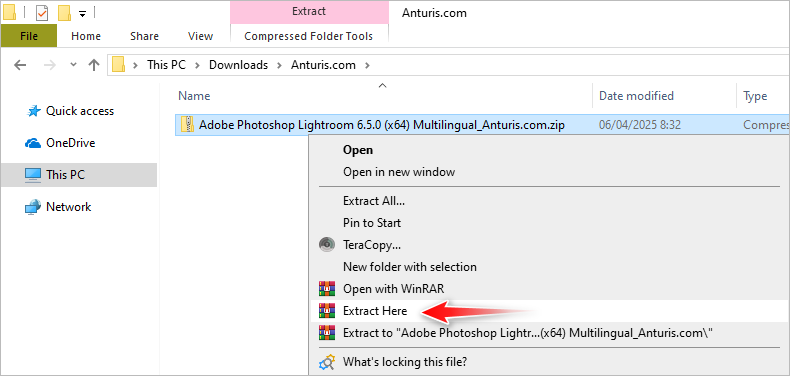
4. Extract the archive file. If it asks you for a password, enter 123.
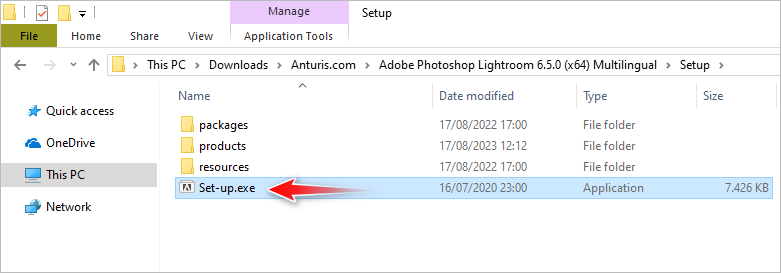
5. Open the extracted folder, and then find and double-click the Set-up file.
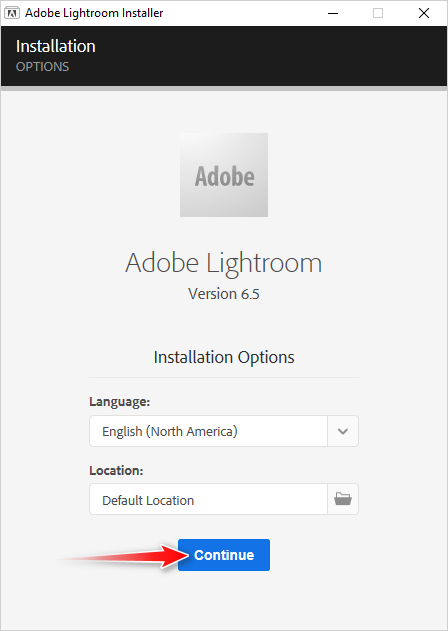
6. Install the program to the default location by clicking the Continue button.
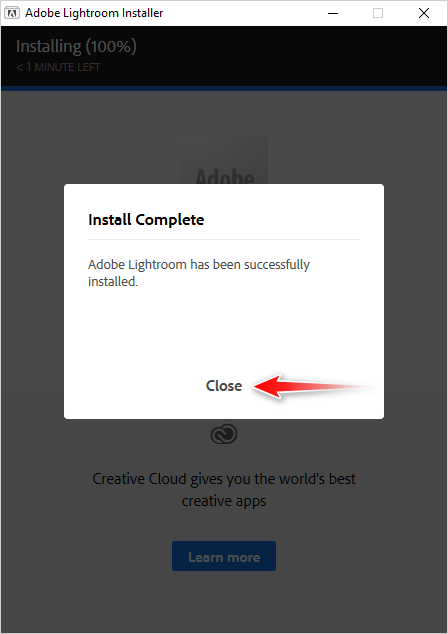
7. Once it has been successfully installed, close the window.
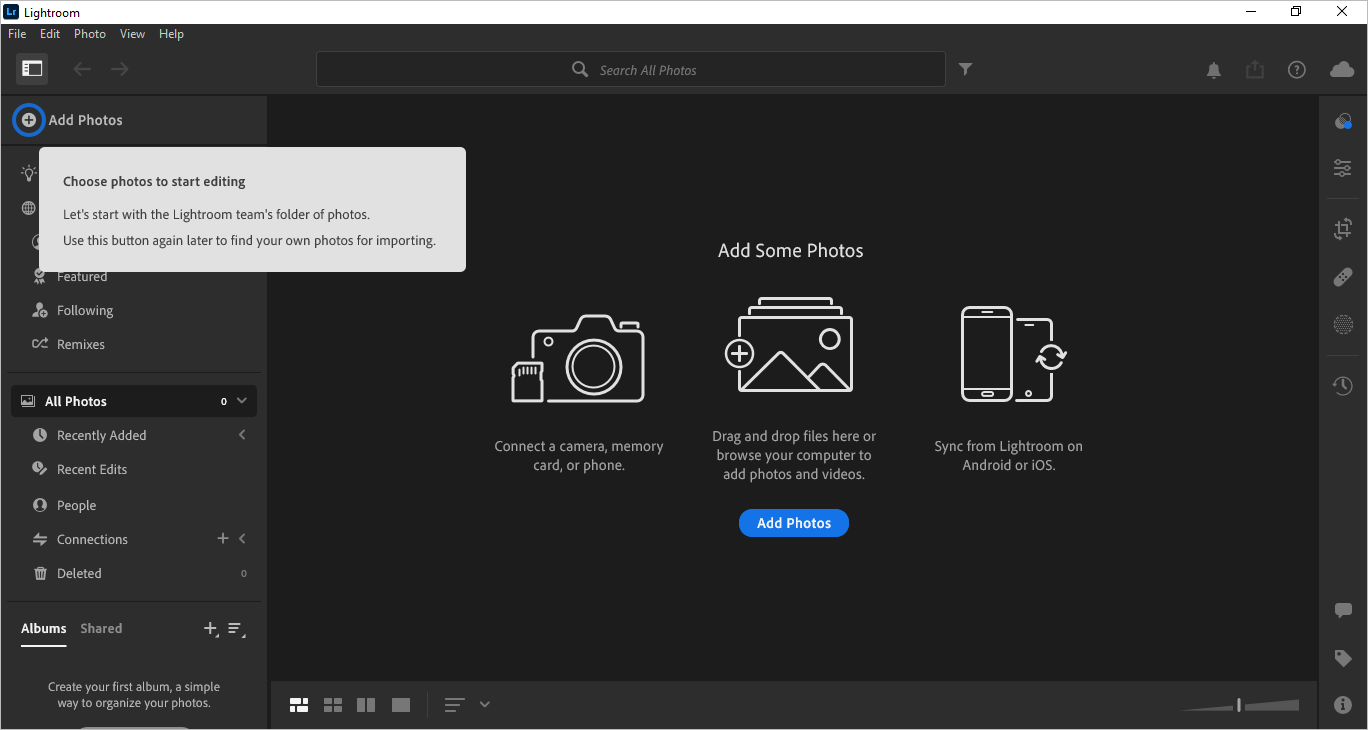
8. Launch Adobe Photoshop Lightroom.
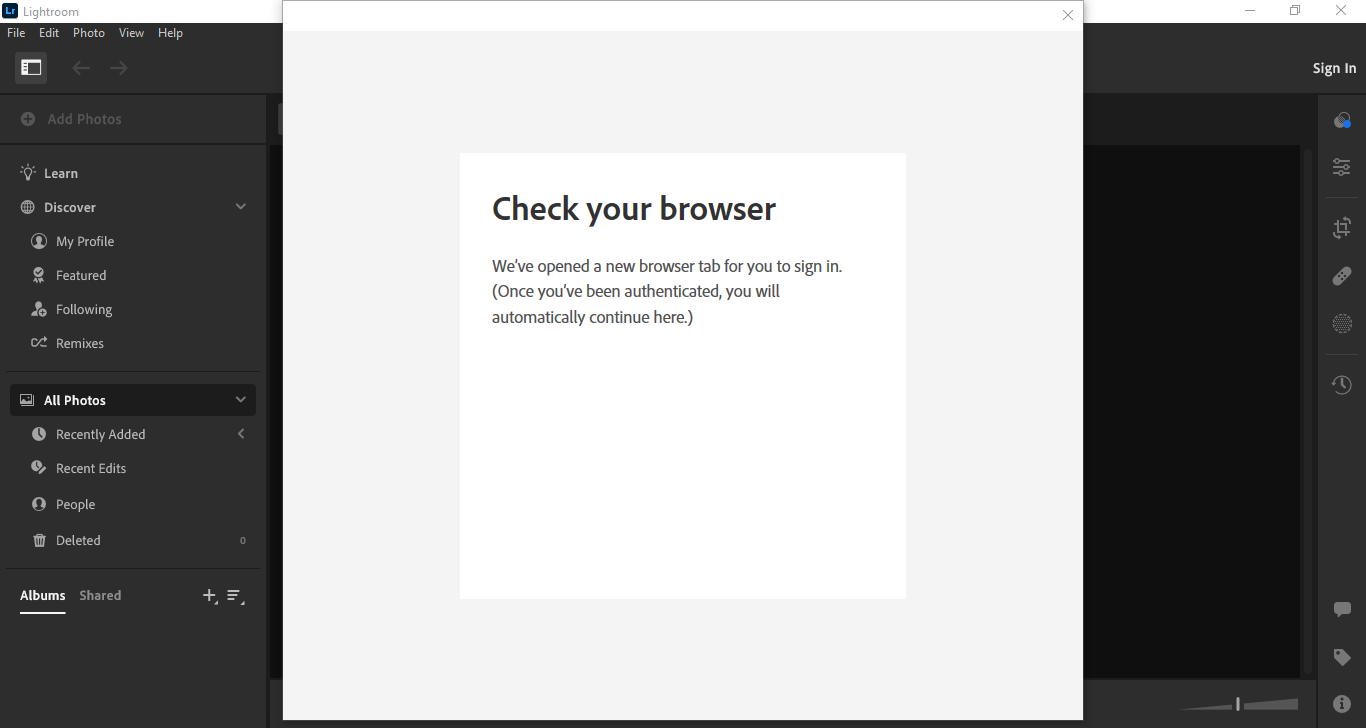
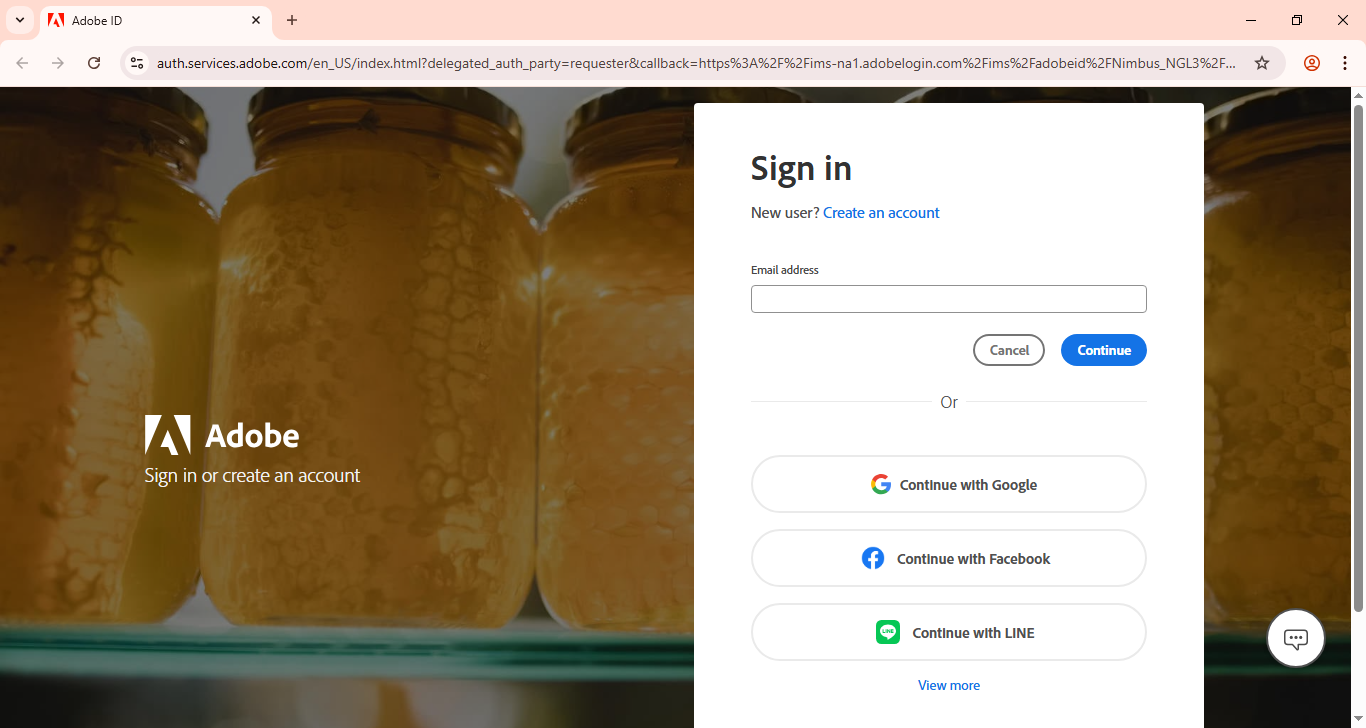
9. Once the main window opens, Lightroom will open a web page in your default browser where you are required to log in to your account, but we strongly suggest that you should create a new account instead of using your existing account.
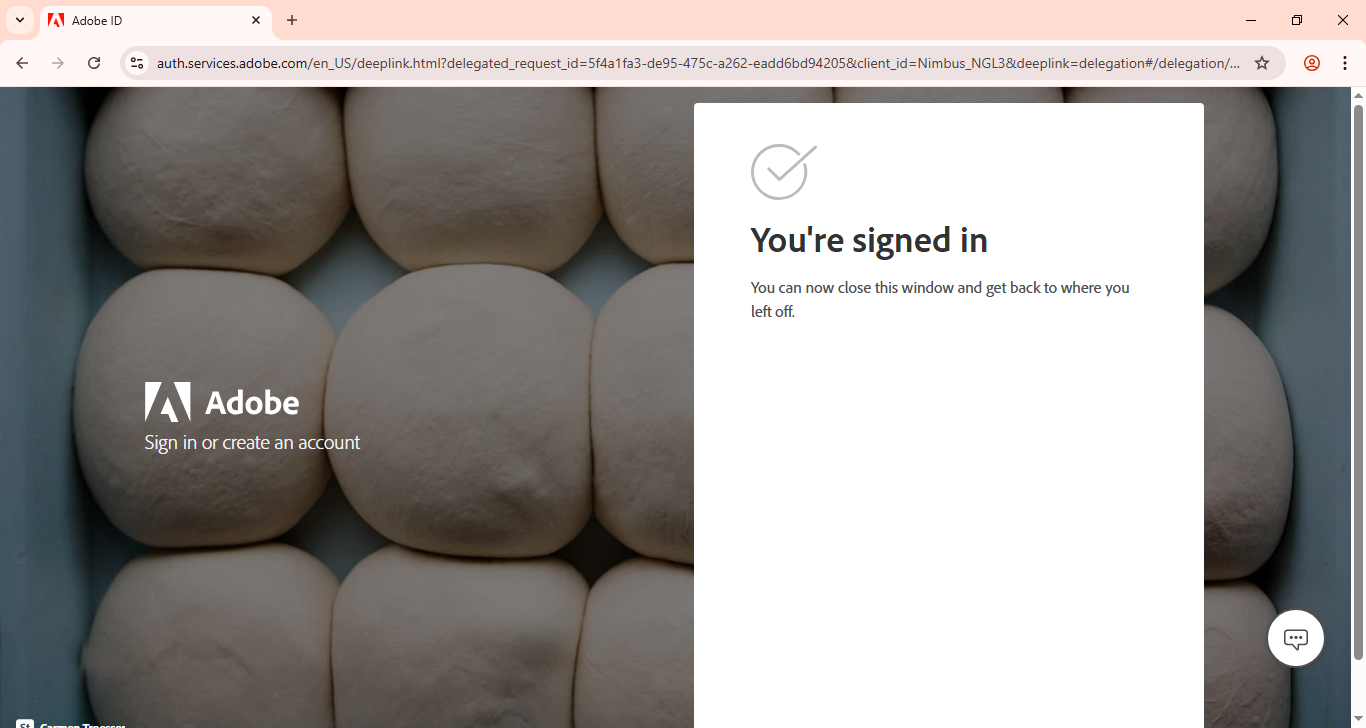
10. Once you finish setting up your new account, go back to Lightroom.
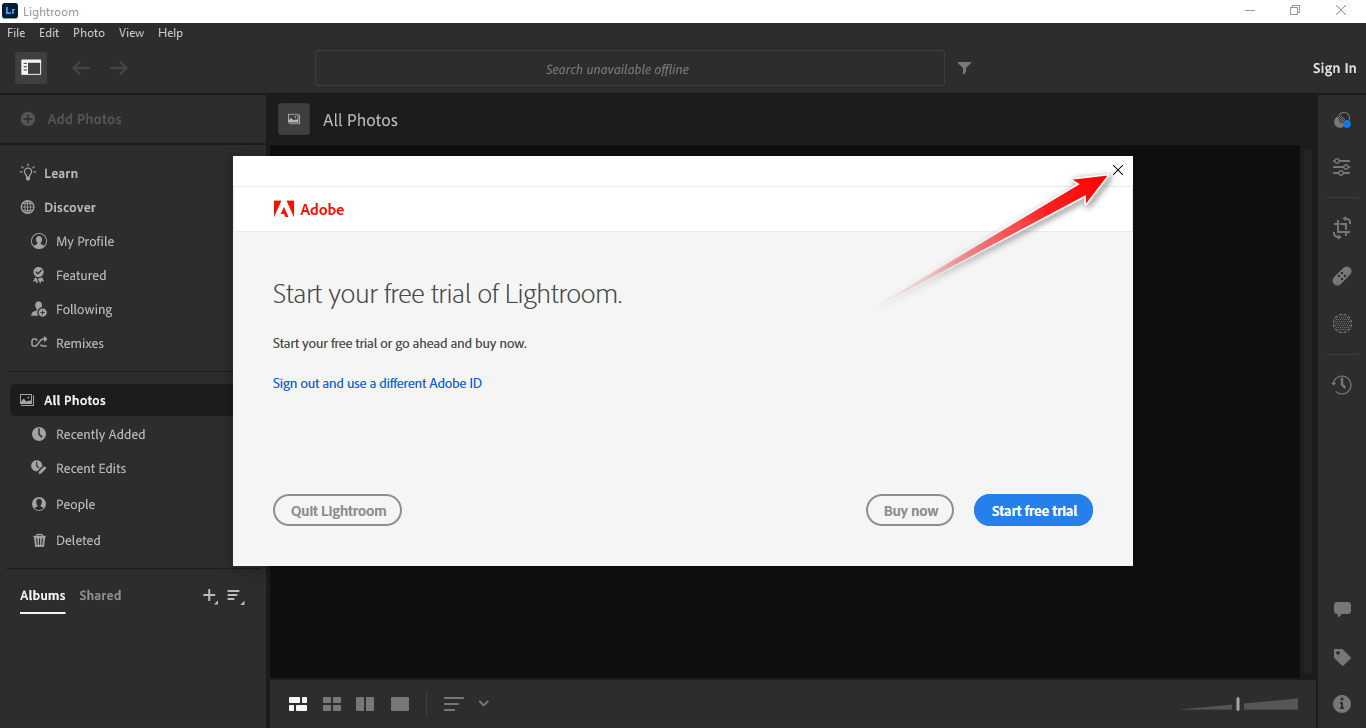
11. If it asks you to start a free trial, ignore it by clicking the close button. The main window will also close automatically as soon as you click that button.
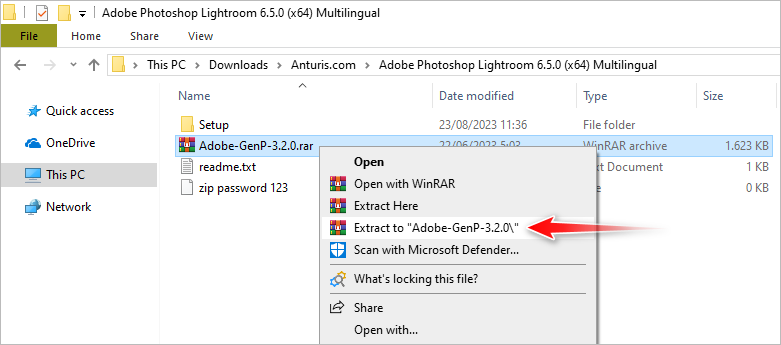
12. Return to the extracted folder, find and extract the archive file shown in the image below.
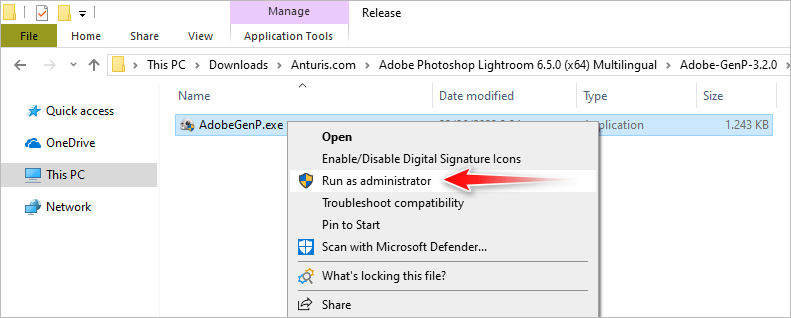
13. Run the executable file as administrator.
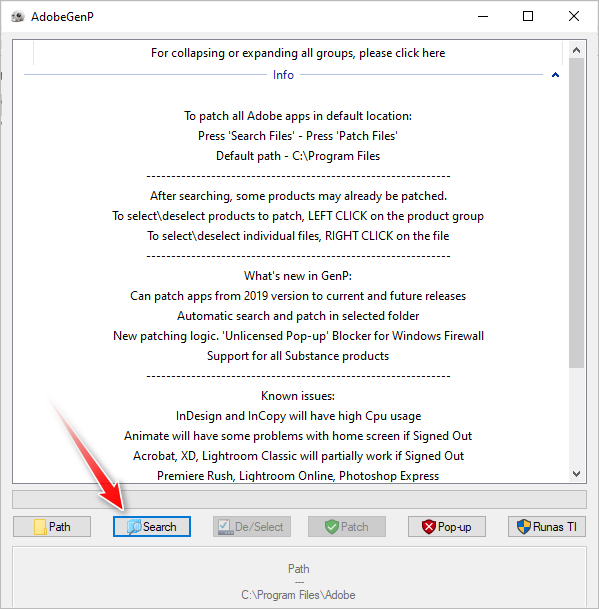
14. Hit the Search button.
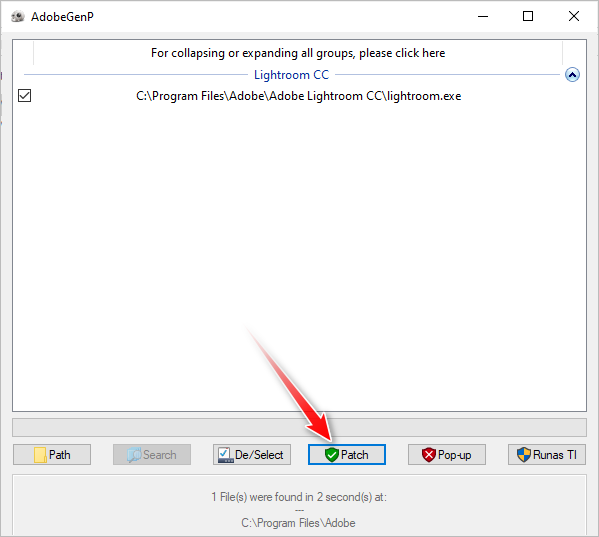
15. Click the Patch button.
16. Once the patching is done, close the window.
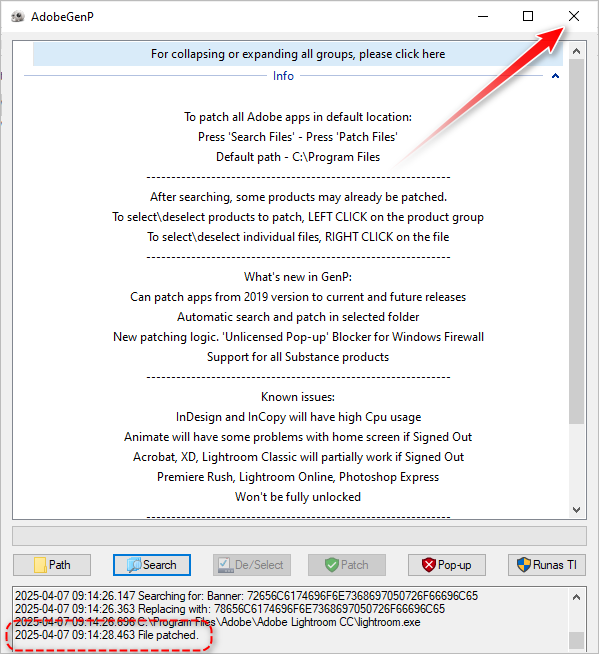
17. Adobe Photoshop Lightroom is now activated.

Leave a Comment