
How to Install and Activate Wondershare Filmora 14
Written by Marteen Roose
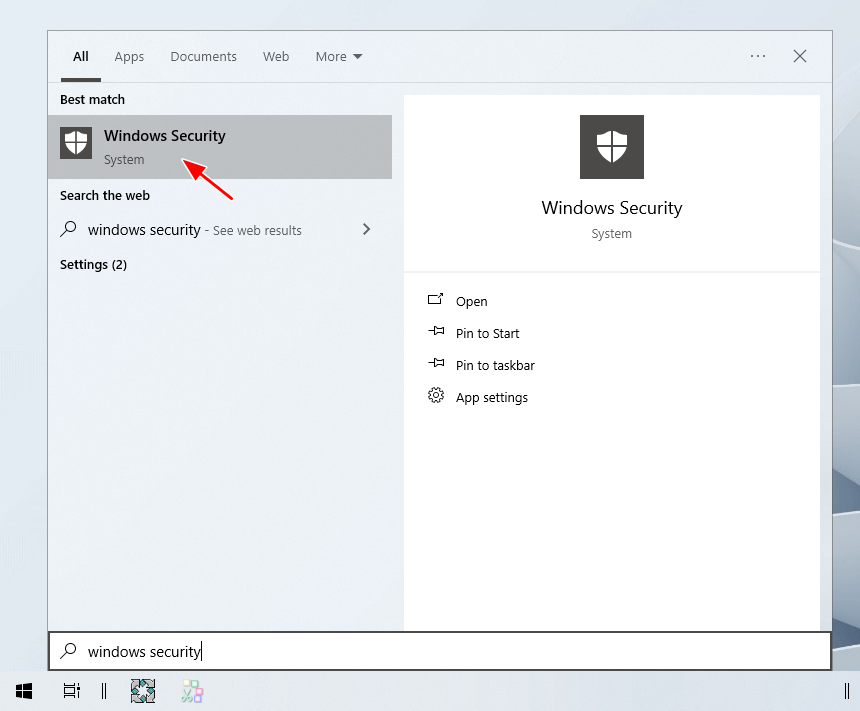
1. Disable your antivirus to make sure that it won’t interfere with the installation process. You can turn it back on after the installation is completed. Click the Start Menu, type Windows Security, and then click on it.
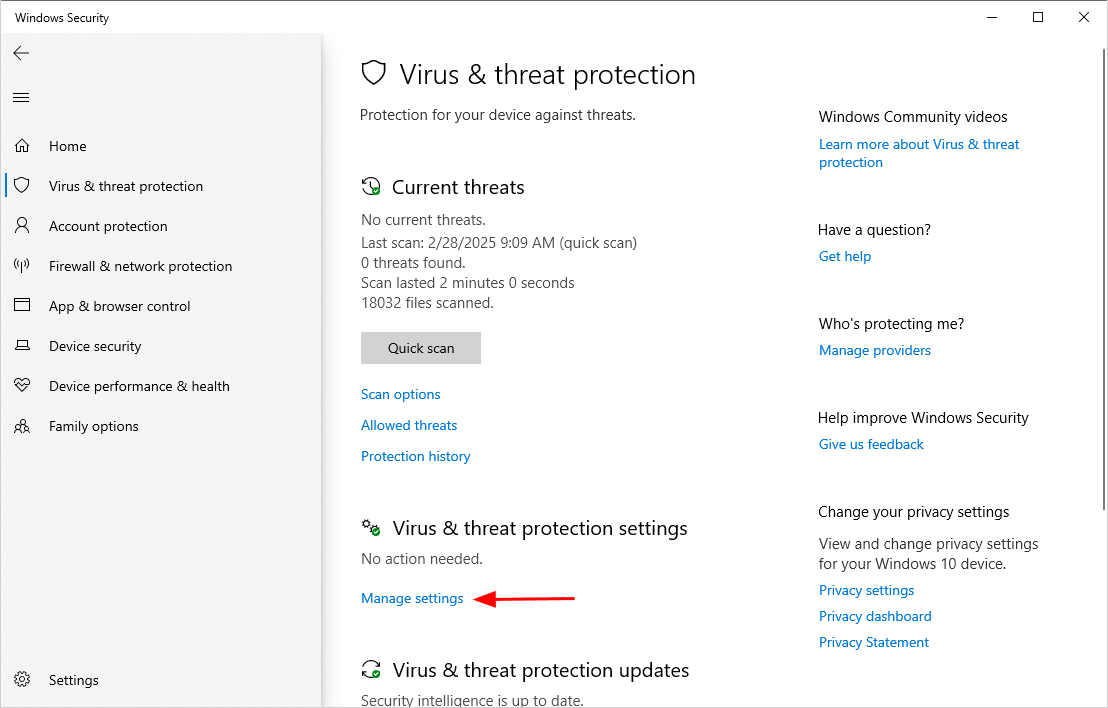
2. Click Manage settings.
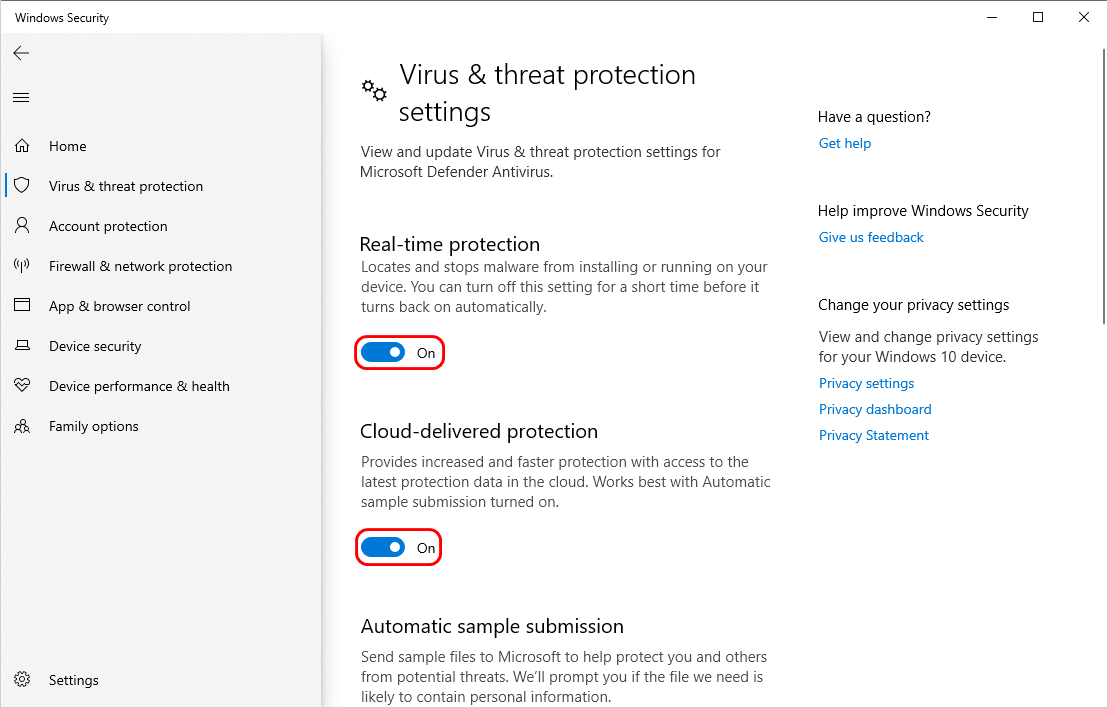
3. Deactivate every protection feature by clicking the respective button.
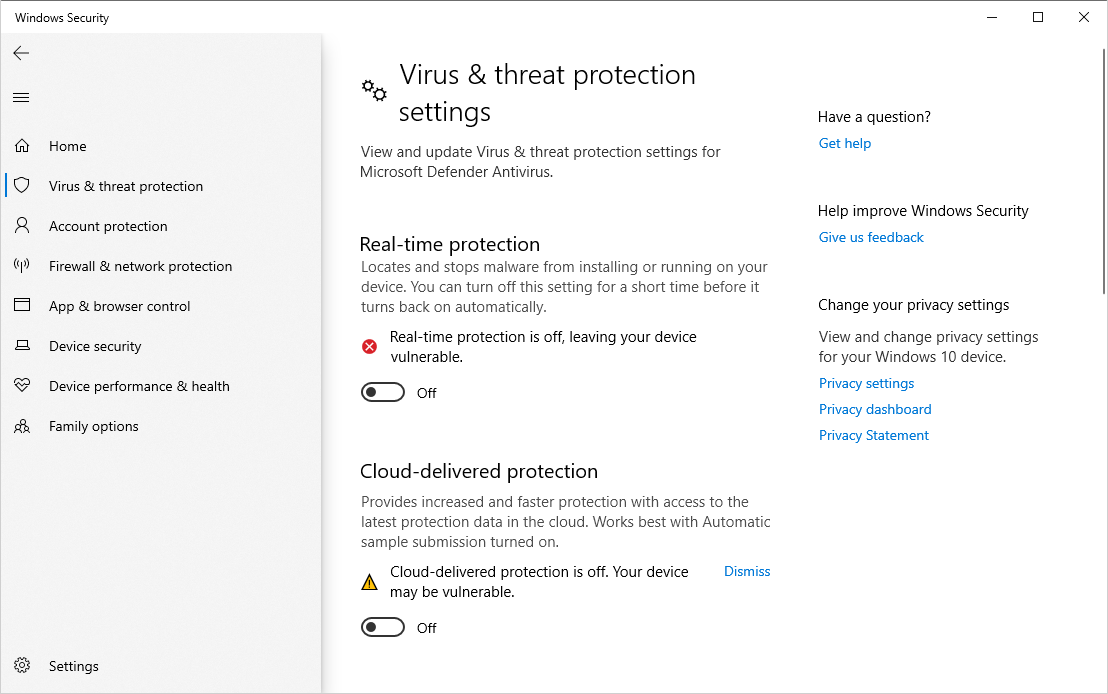
4. Here is how it will look like after you deactivate them.
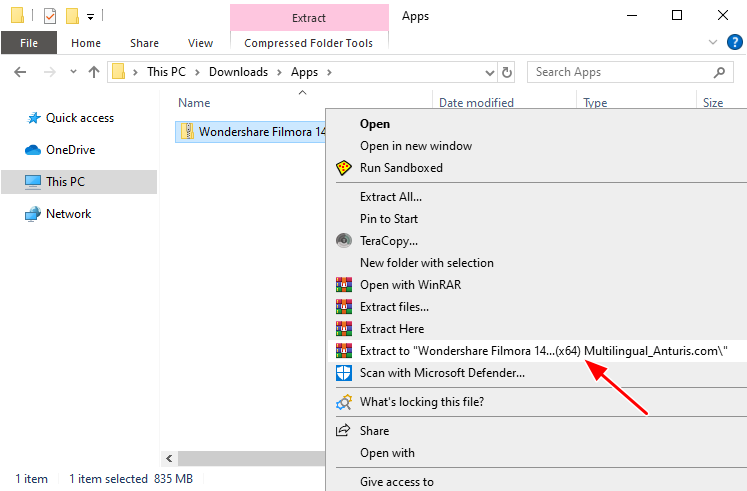
5. Extract the Wondershare Filmora 14 installer from the archive. Right-click on it, then select Extract to.
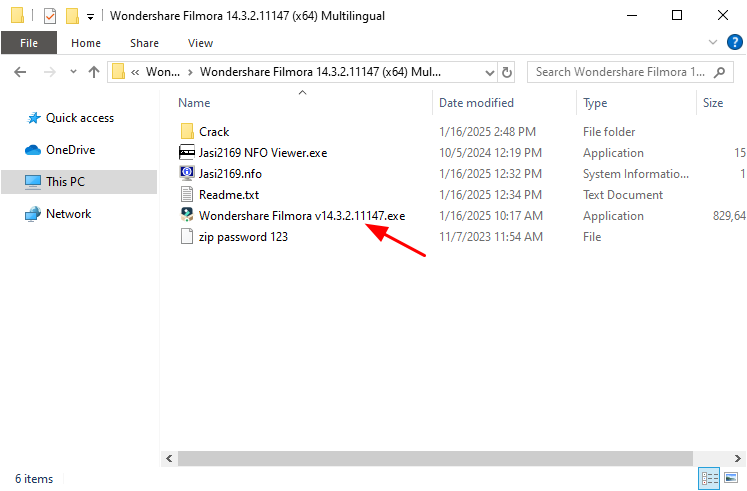
6. Double-click on Wondershare Filmora v14.3.2.11147.exe to run the installer.
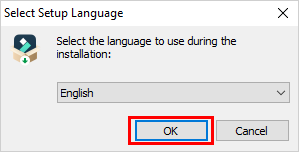
7. Hit the OK button.
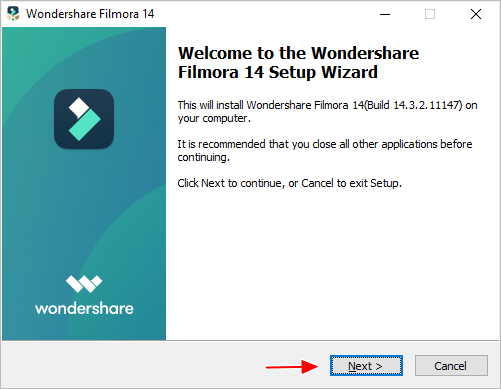
8. Click Next.
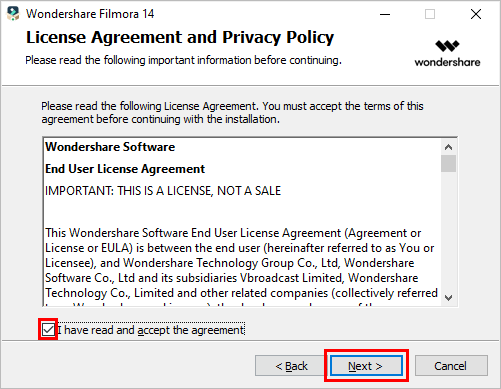
9. Tick the small box next to “I have read and accept the agreement,” then click Next.
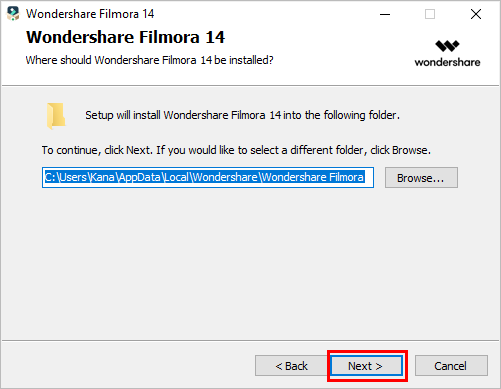
10. You can specify where you want to install Wondershare Filmora 14, or you can just click Next to proceed with the installation.
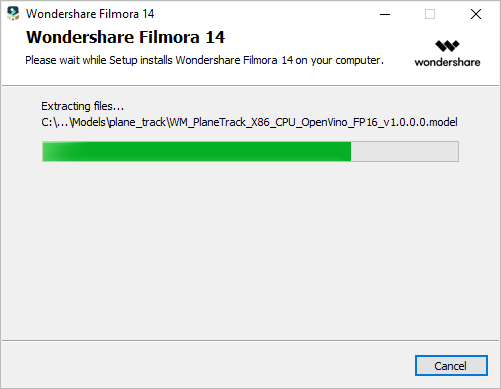
11. Wait until the installation is finished.
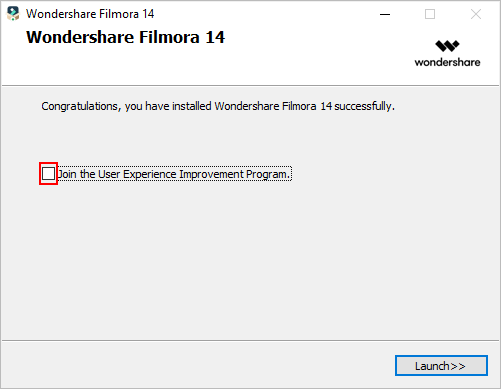
12. Untick the box next to “Join the User Experience Improvement Program”, but do not click the Launch button because you need to activate the program first.
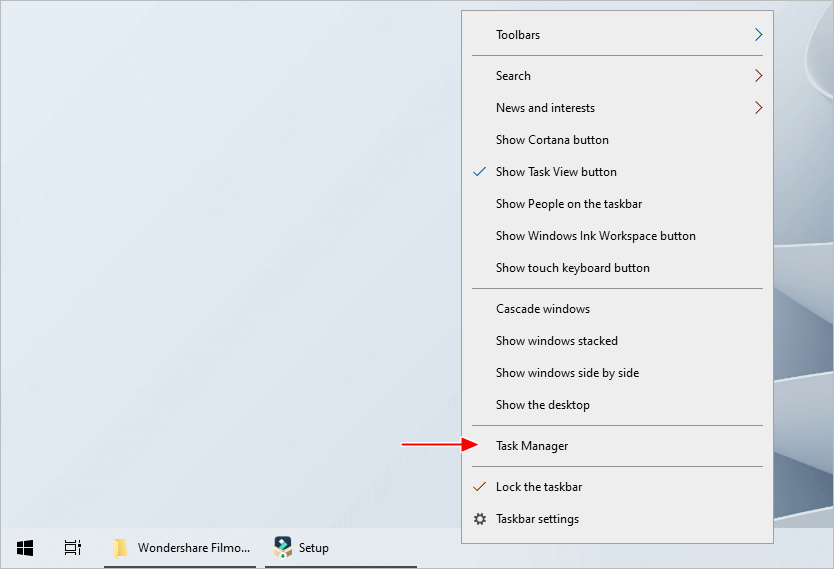
13. Right-click on an empty taskbar area, then click Task Manager.
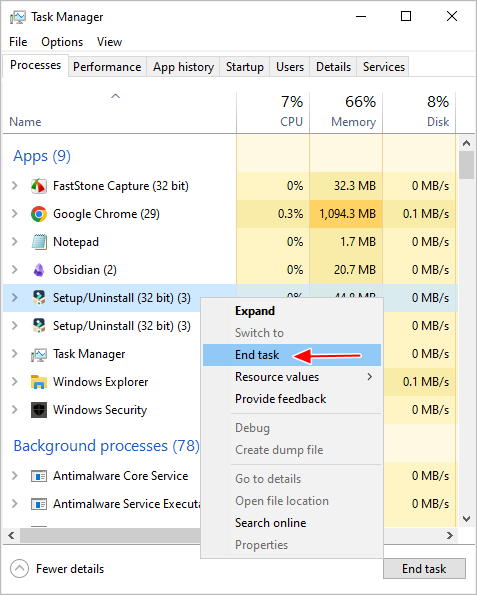
14. Right-click on Setup/Uninstall (32 bit), then click End Task to close the Wondershare Filmora 14 installation window.
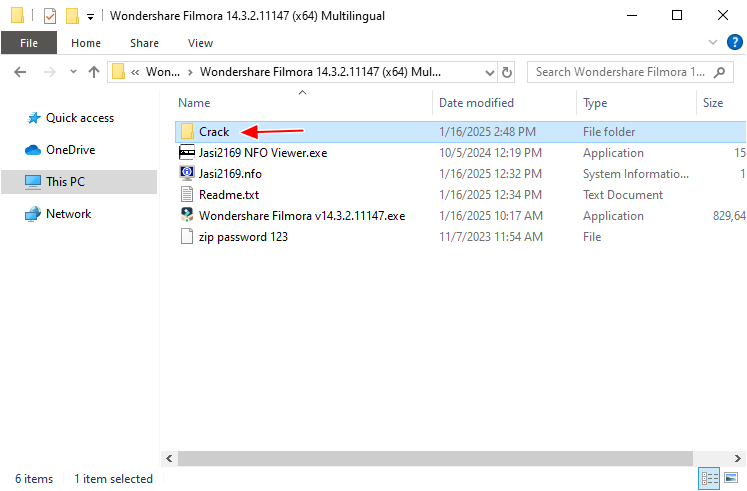
15. Open the Crack folder.
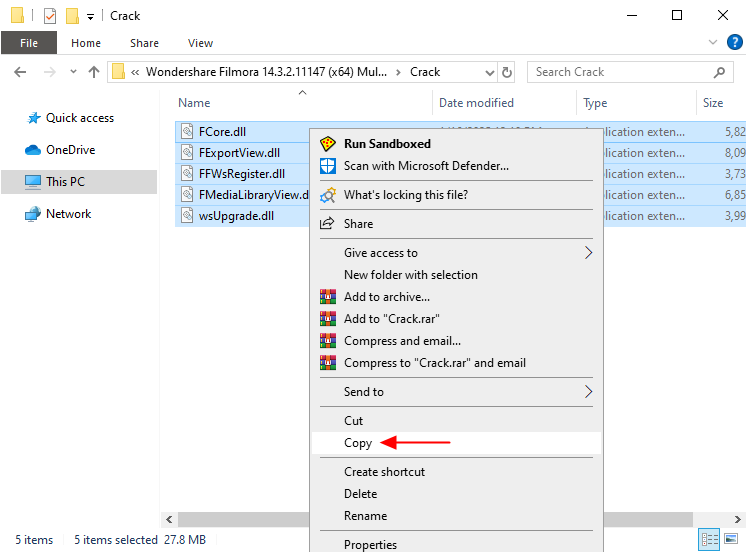
16. Copy all the files.
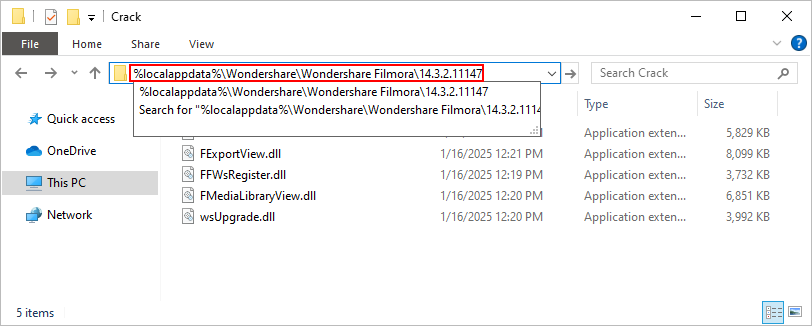
17. Copy and paste the following text into the File Explorer address bar and then hit Enter on your keyboard: %localappdata%\Wondershare\Wondershare Filmora\14.3.2.11147
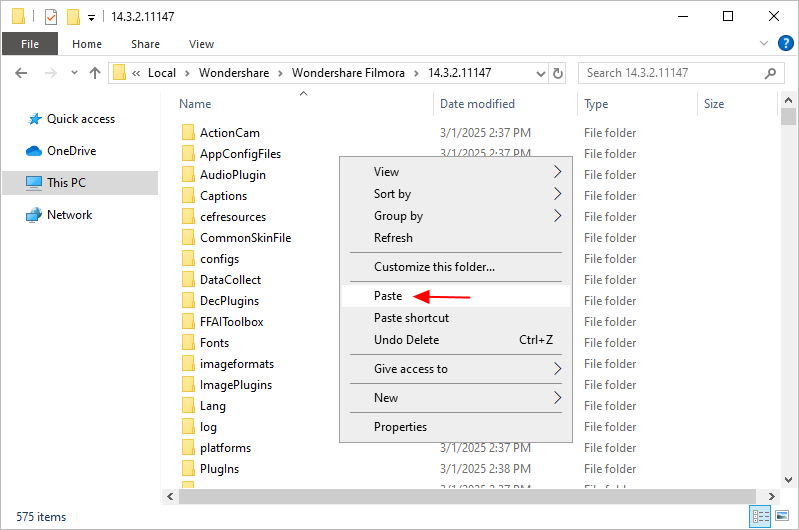
18. Paste all the files that you’ve just copied into the folder.
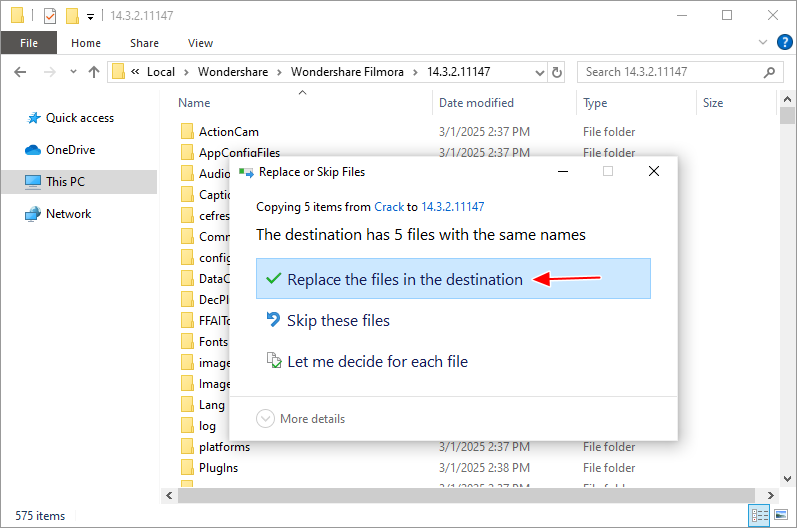
19. Click Replace the files in the destination.
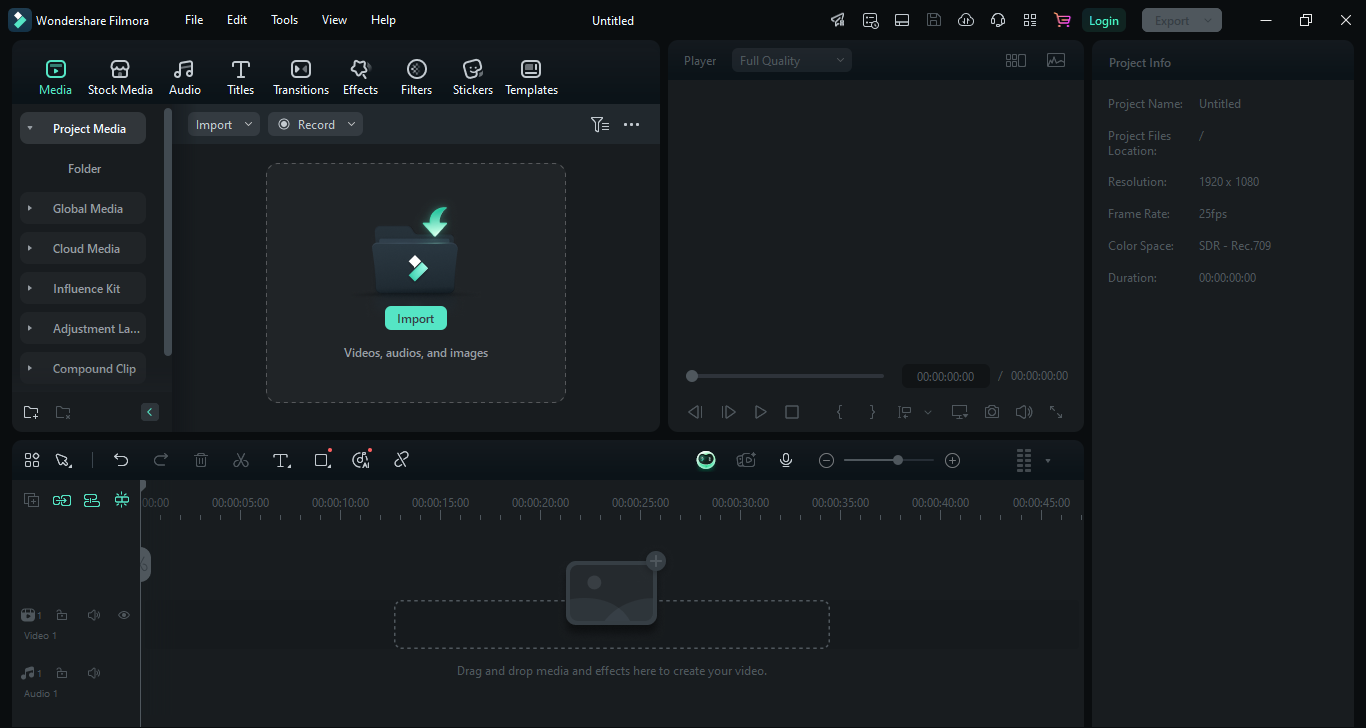
20. Now you can launch Wondershare Filmora 14 and use it for free.

Leave a Comment