
How to Install and Activate Autodesk Maya 2024
Written by Marteen Roose
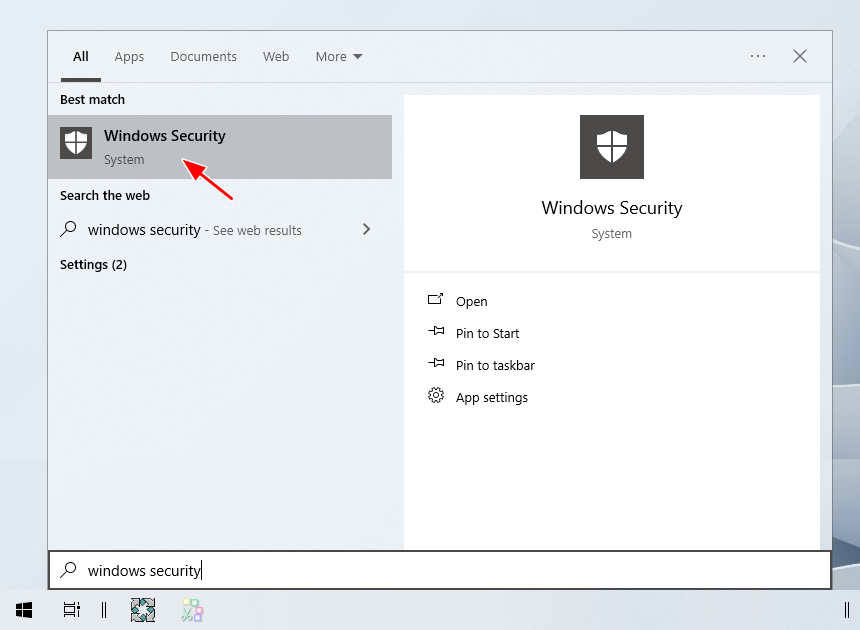
1. If your antivirus is still running, you need to disable it before installing Autodesk Maya 2024. To do so, open Windows Security from the Start menu.
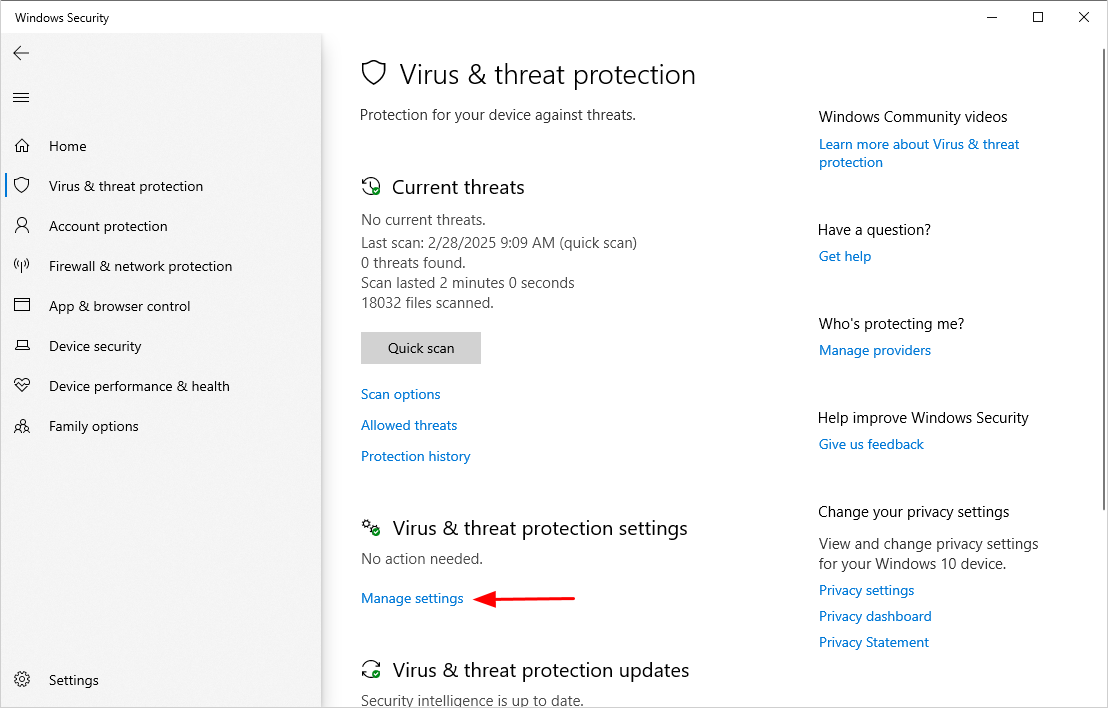
2. Click Manage settings.
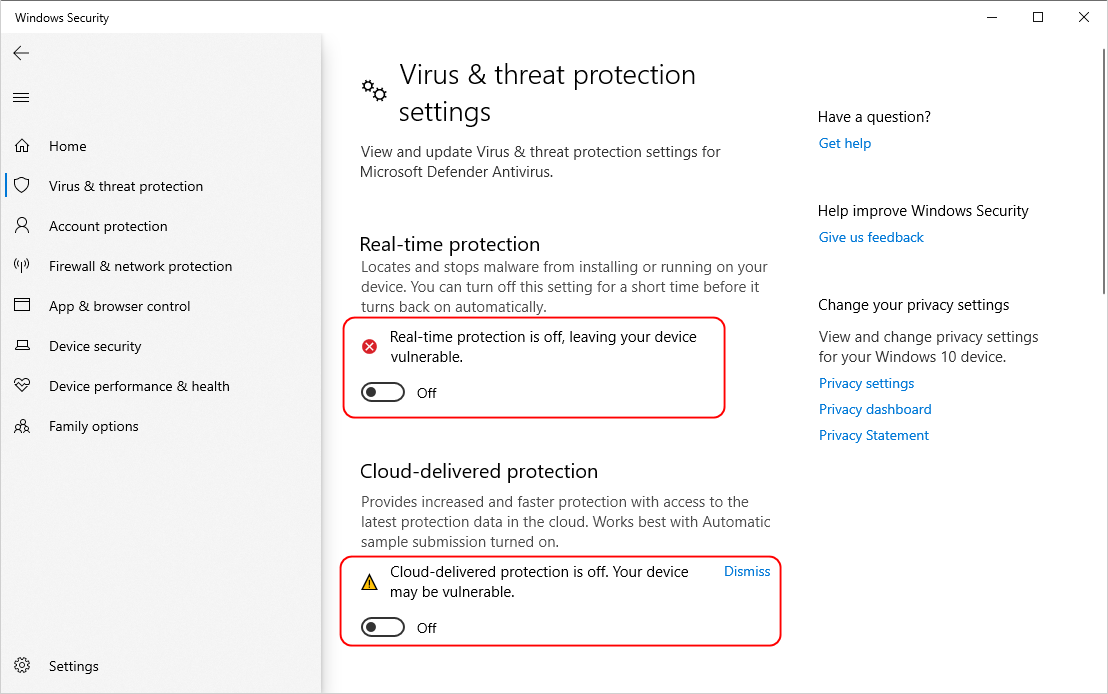
3. Make sure that every protection feature is disabled.
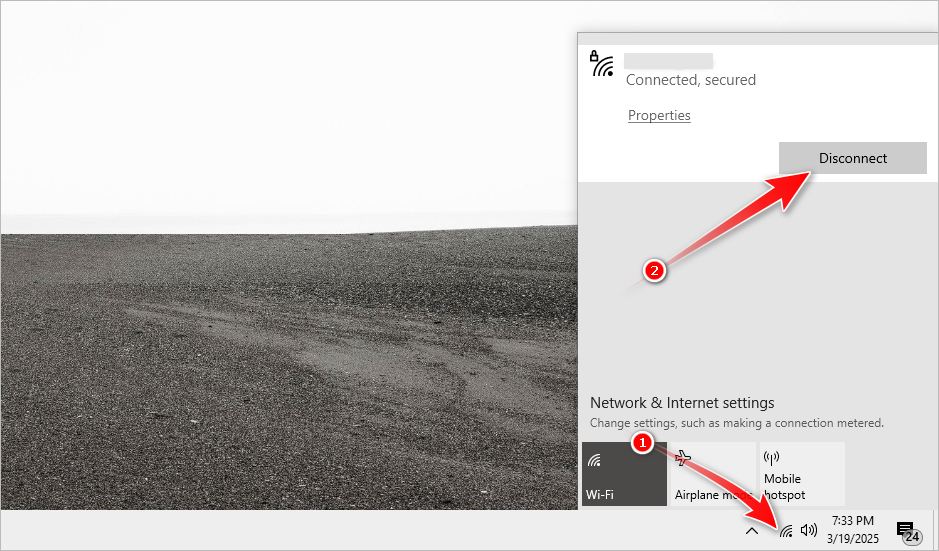
4. If your computer is connected to the internet, stop the connection.
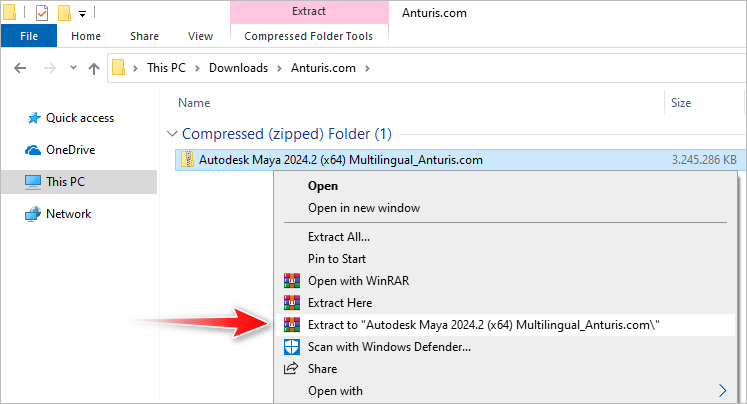
5. Extract the Autodesk Maya folder from the archive file. The password is 123.
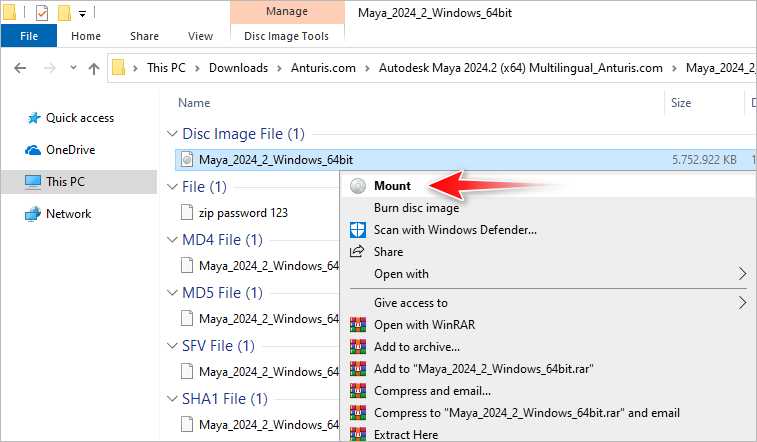
6. Right-click Maya_2024_2_Windows_64bit and select Mount to open it as a virtual drive.
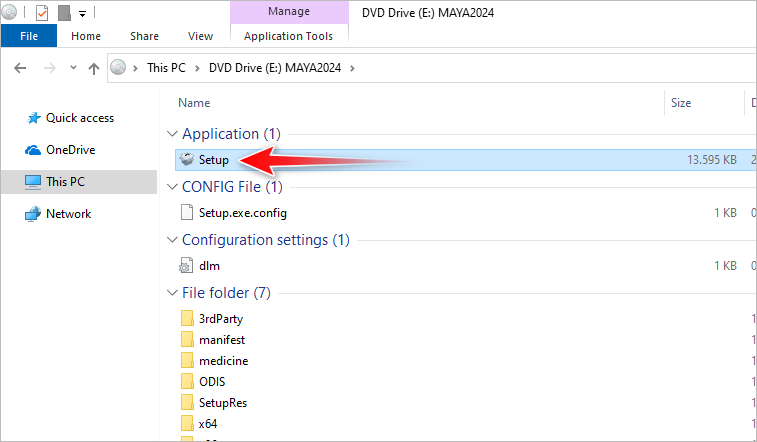
7. Double-click the Setup file in the virtual drive.
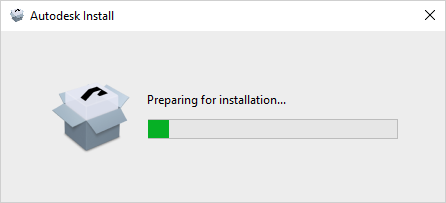
8. Wait until the installation preparation is complete.
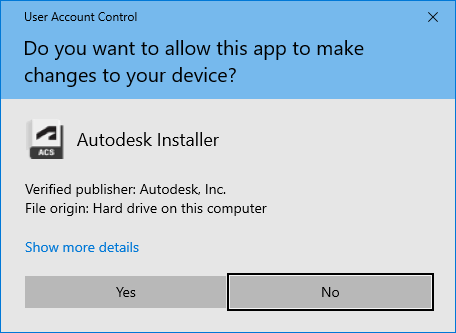
9. If the UAC (User Account Control) notification appears, press Yes.
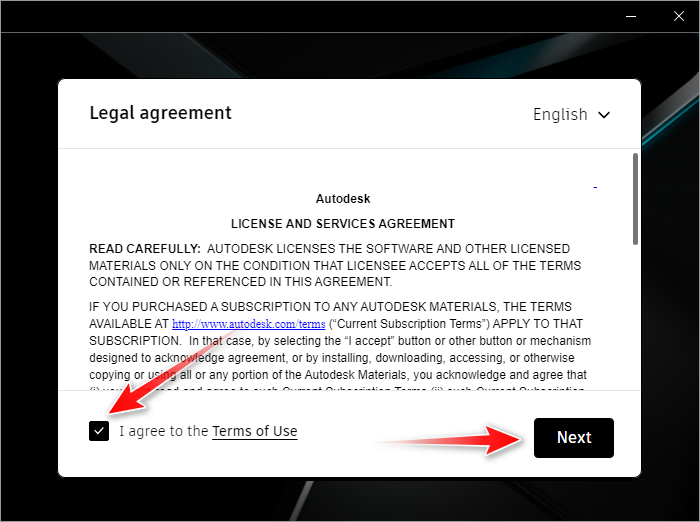
10. Check the checkbox that says I agree to the Terms of Use, and then press Next.
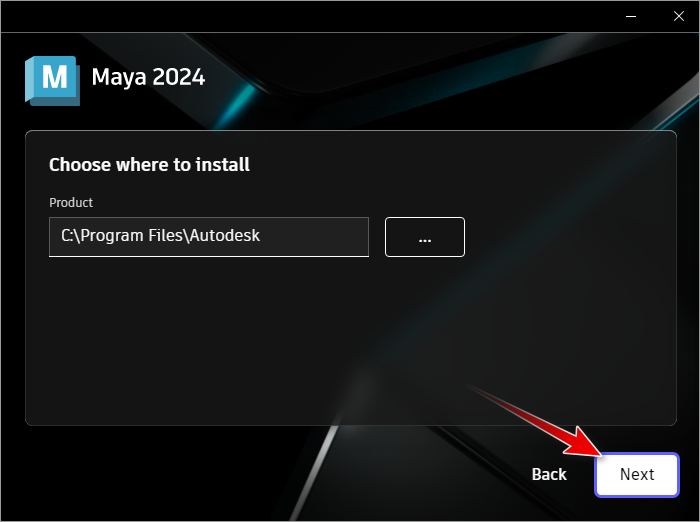
11. Click Next.
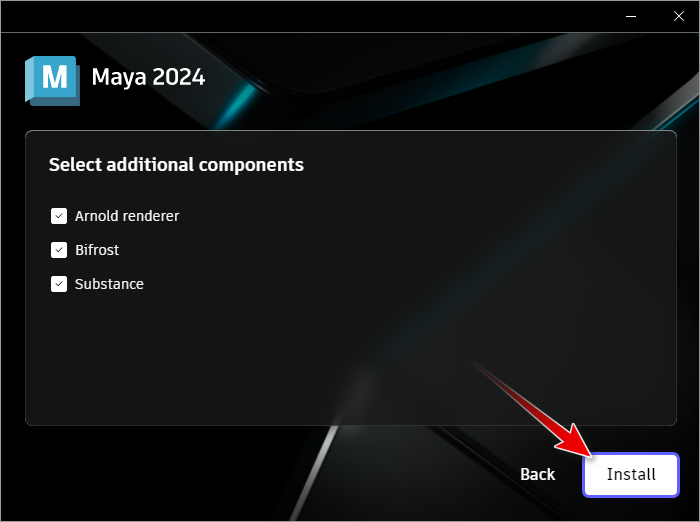
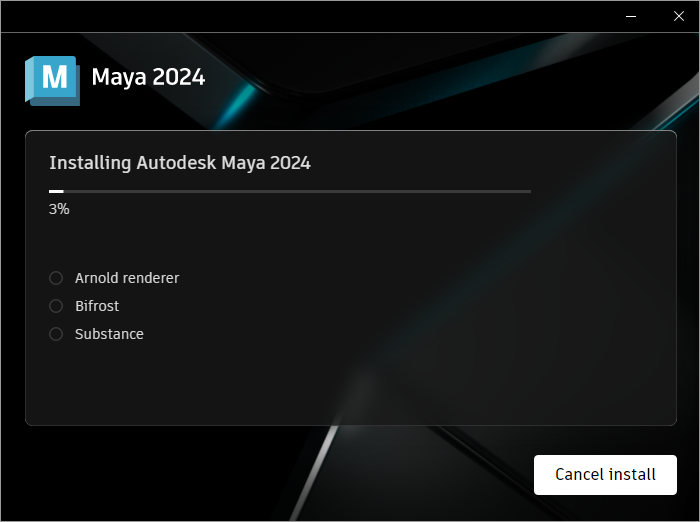
12. You can select which additional components to be included in the installation. Once you’re done, click Install.
13. Wait until the installation is complete.
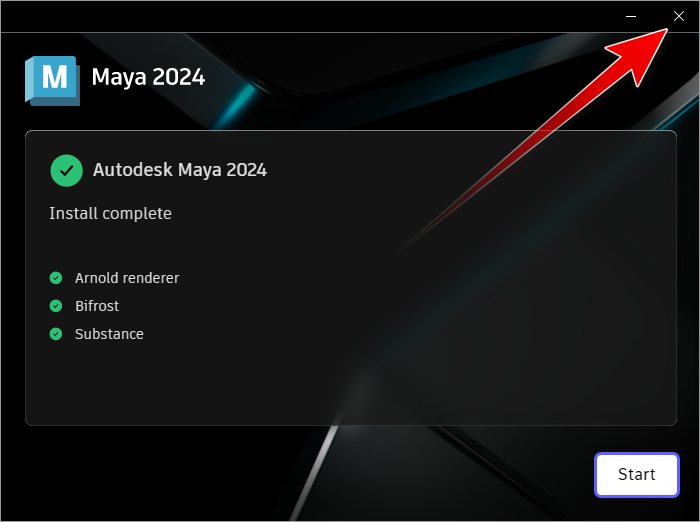
14. Click the X button to close the window once the installation is done. Do not click Start.
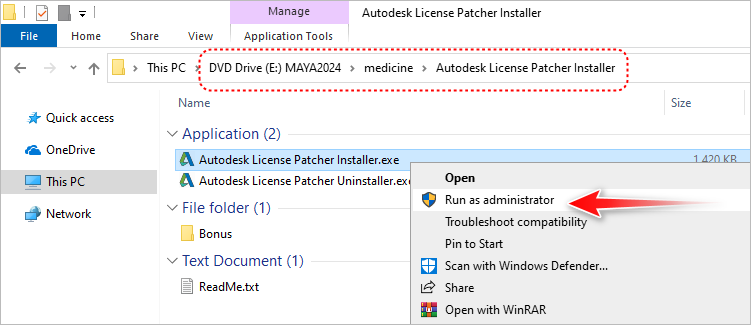
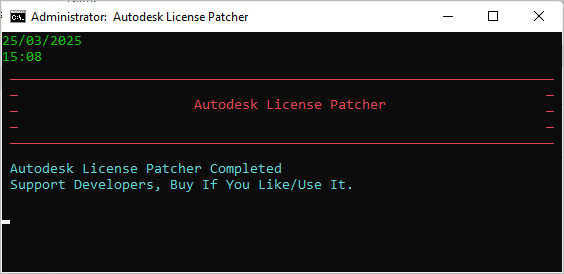
15. Go back to File Explorer, navigate to medicine > Autodesk License Patcher Installer folder, right-click on Autodesk License Patcher Installer and select Run as administrator. If UAC shows up, click Yes.
16. When the window shown below appears, it means the patching is in progress. Wait until it is done.
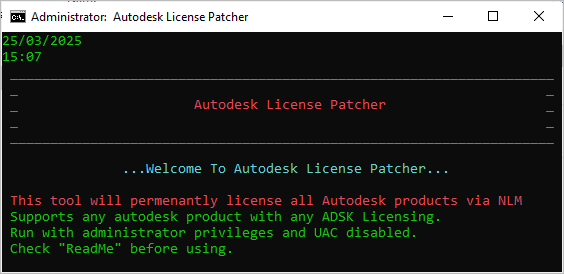
17. When the patching is done, the window will close automatically.
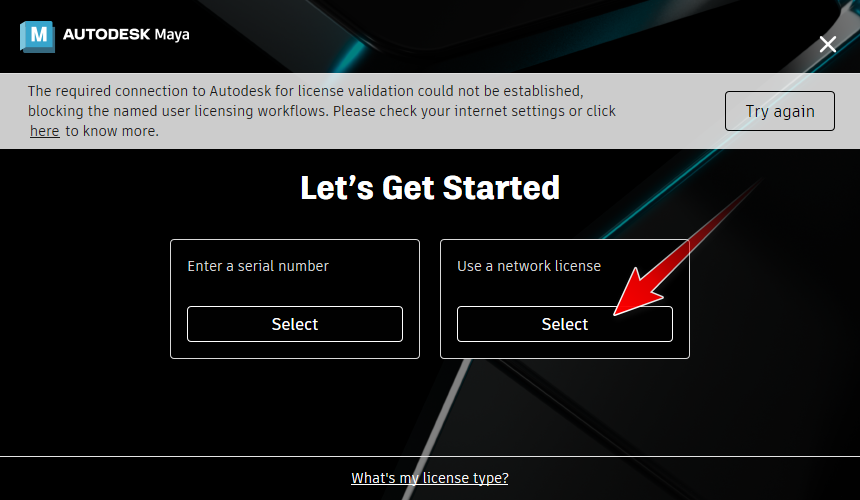
18. Launch Autodesk Maya 2024, and then select Use a network license.
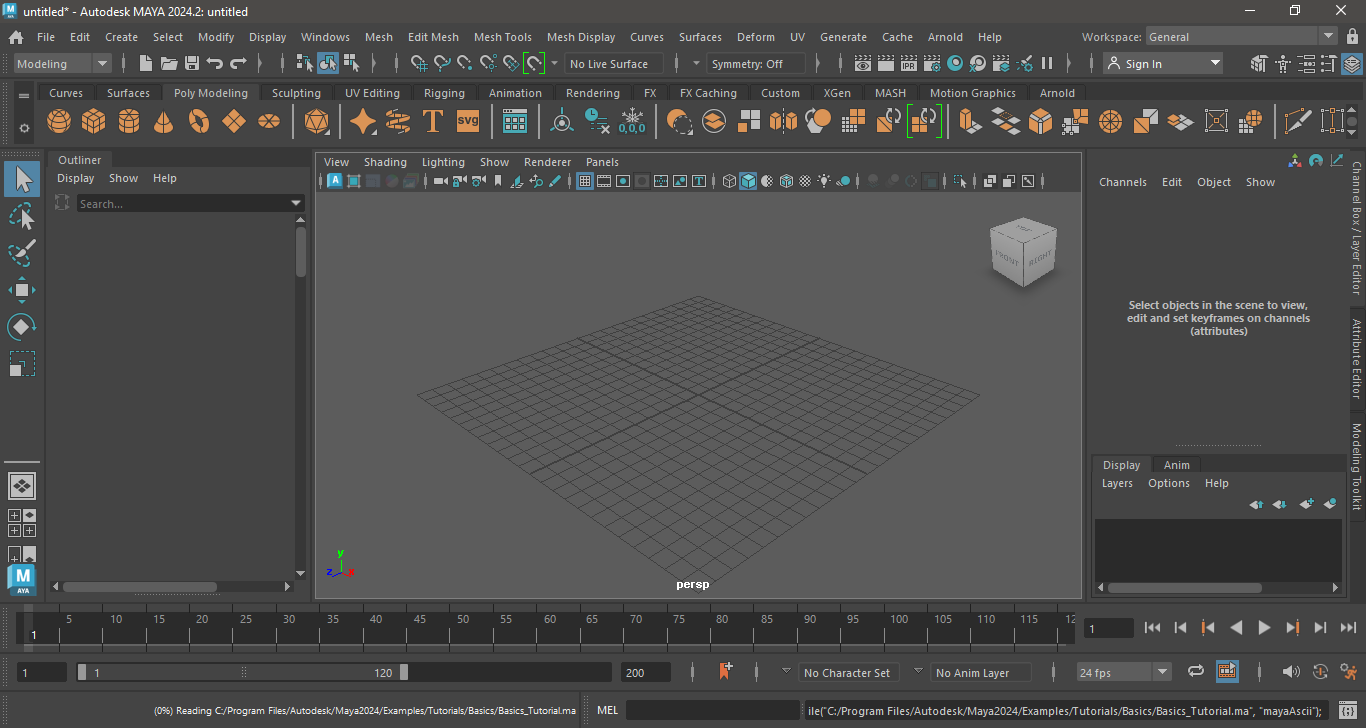
19. As you can see in the image below, your license is verified.

20. Autodesk Maya 2024 is now ready to use.

Leave a Comment