
How to Install and Activate Autodesk Inventor Professional 2025
Written by Marteen Roose
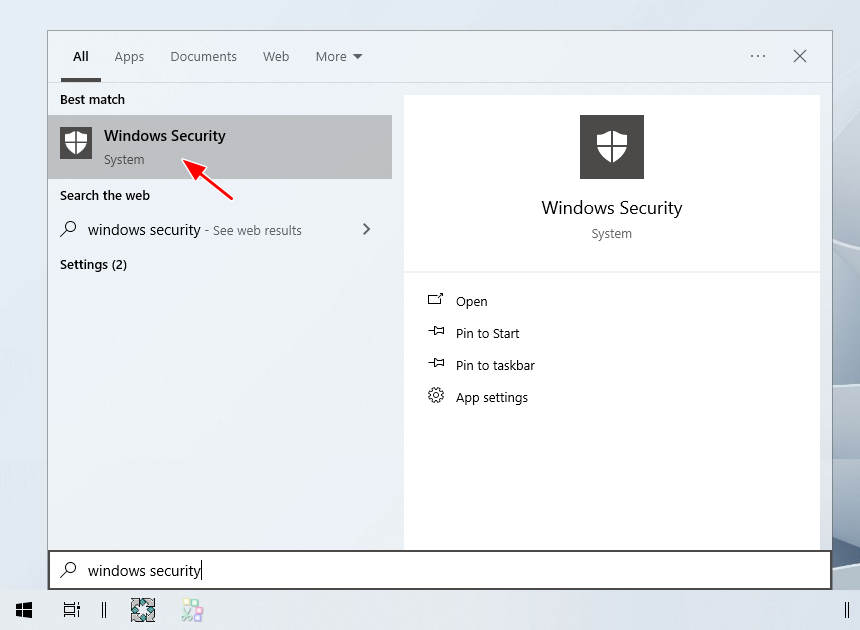
1. Since a software installation can fail because an antivirus falsely flags it as a threat, you should disable your antivirus before installing Inventor 2025. To begin, click the Start menu to open Windows Security.
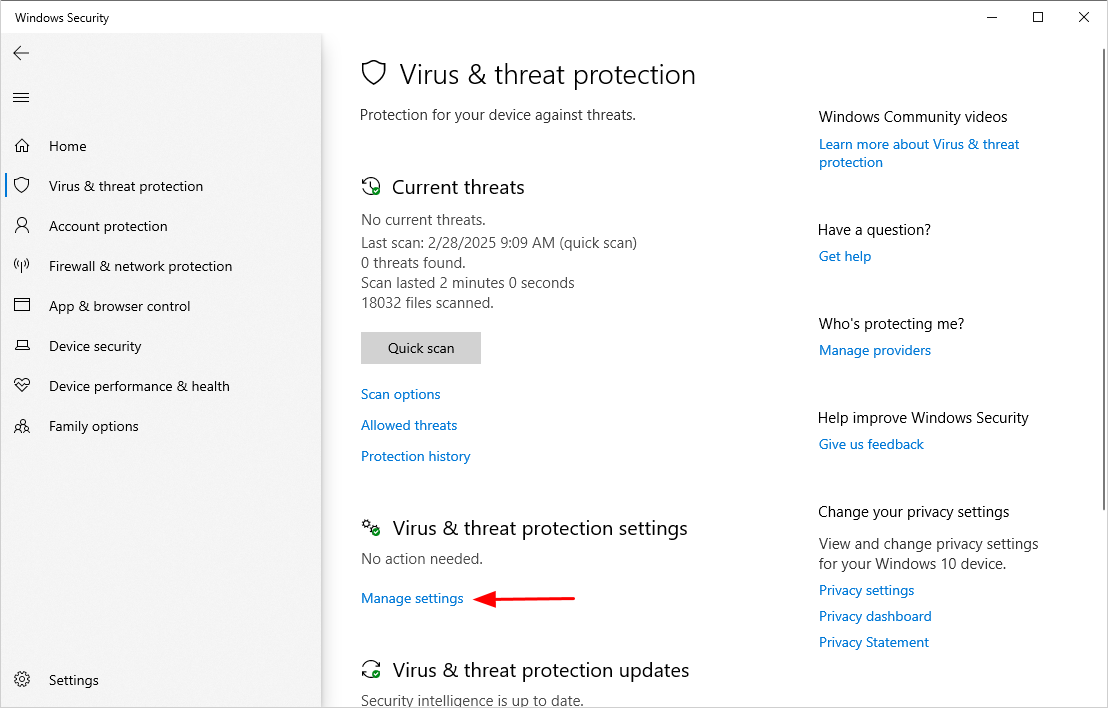
2. Click Manage Settings.
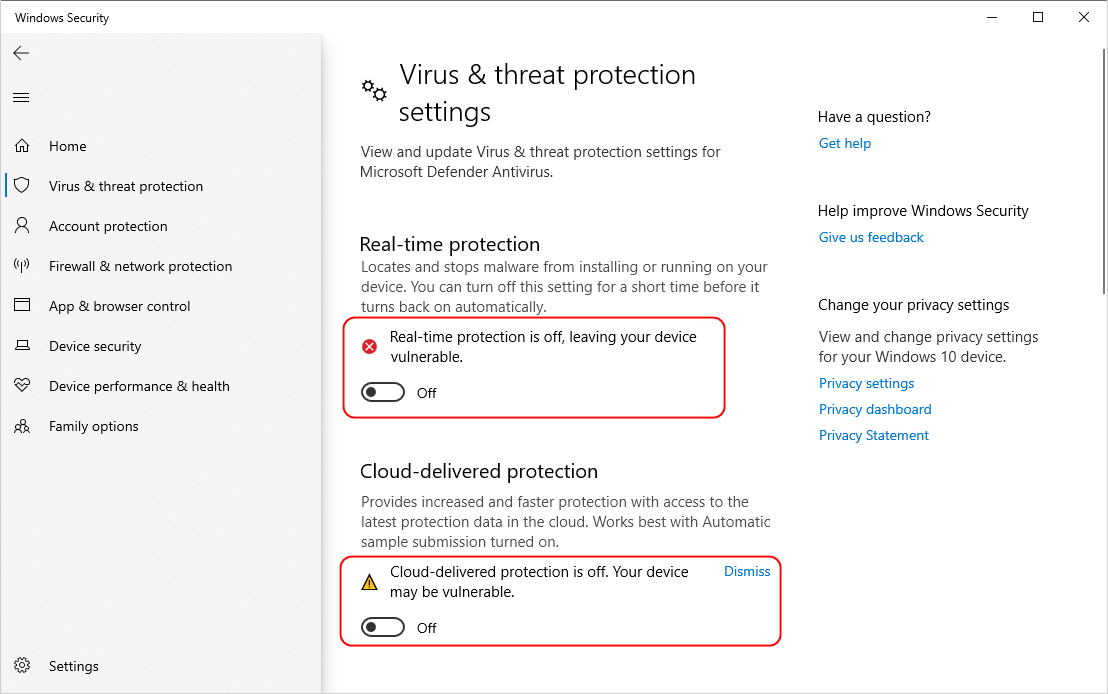
3. Disable every protection feature in the window to make sure none of them will interfere with the installation.
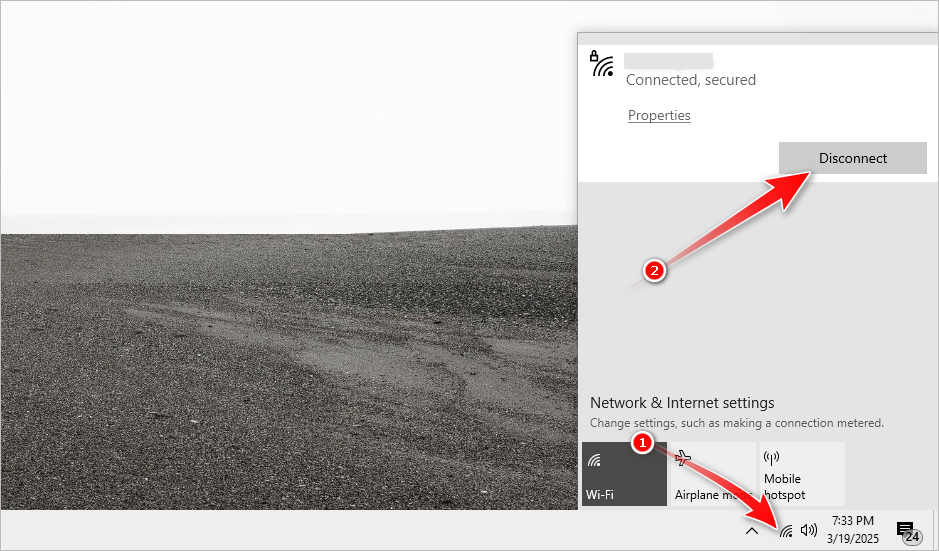
4. The installer will try to connect to the internet during installation, so you need to disable your connection as well.
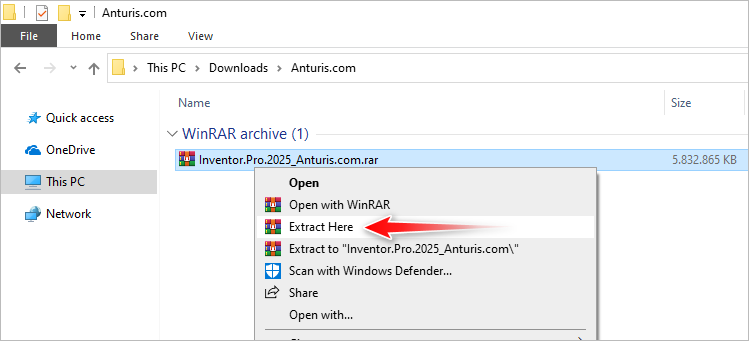
5. Extract the installer from the archive.
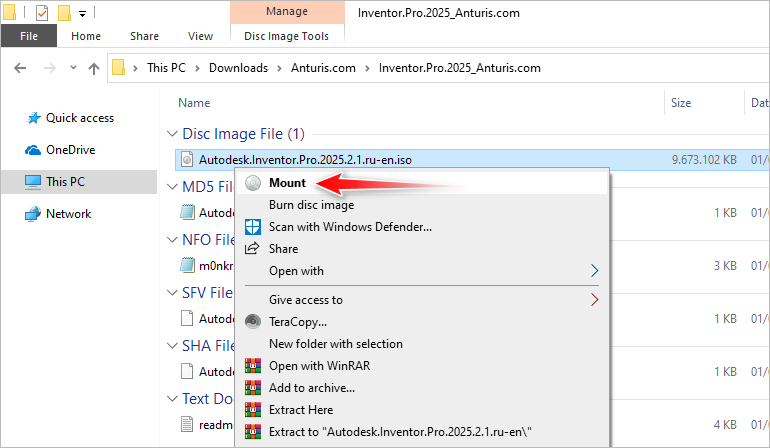
6. Open the extracted folder, right-click the ISO file, and mount it to open the content in a virtual drive.
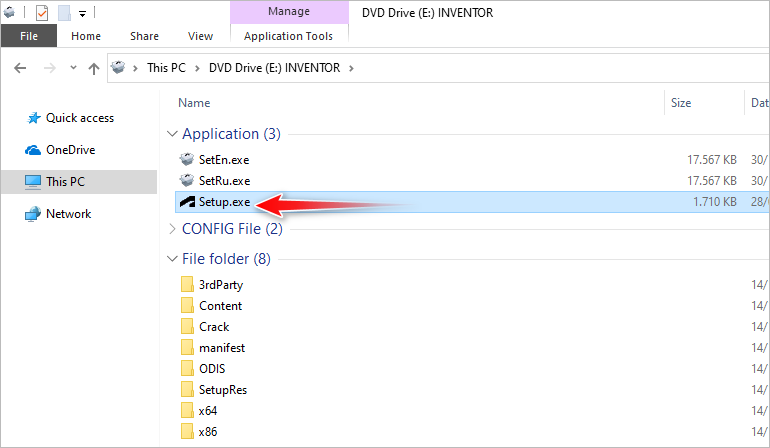
7. In the virtual drive, find and double-click Setup. If the UAC notification shows up, click Yes.
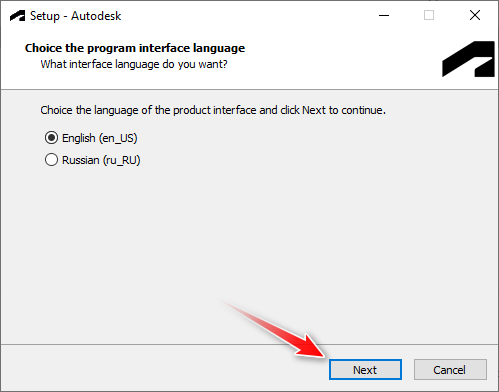
8. Make sure to choose English before clicking Next, unless you know Russian.
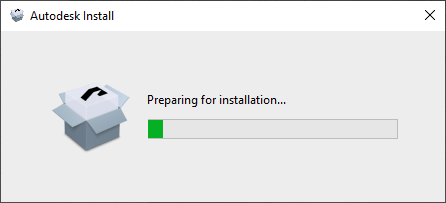
9. Wait for the window shown below to pop up on your screen. The preparation may take a while.
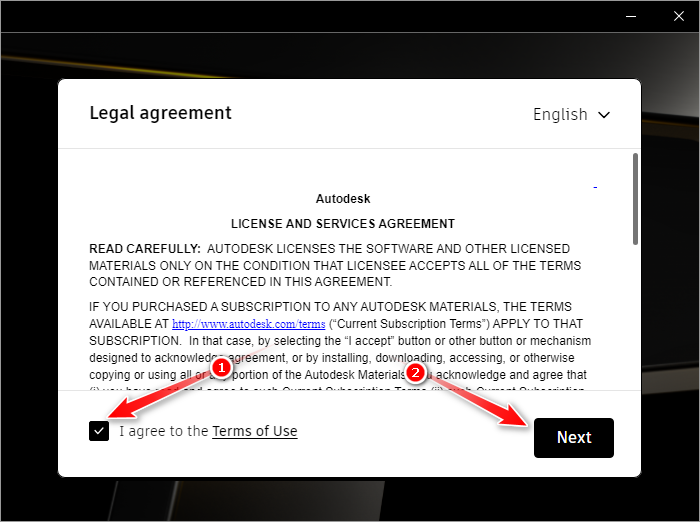
10. Check the checkbox and click Next.
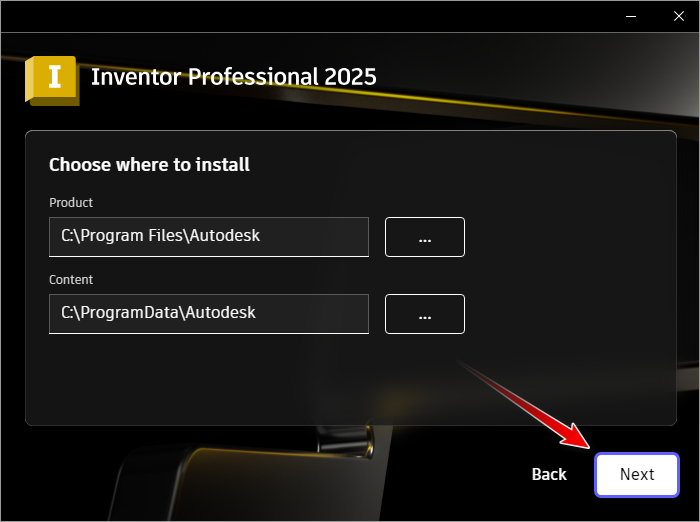
11. Click Next to use the recommended location.
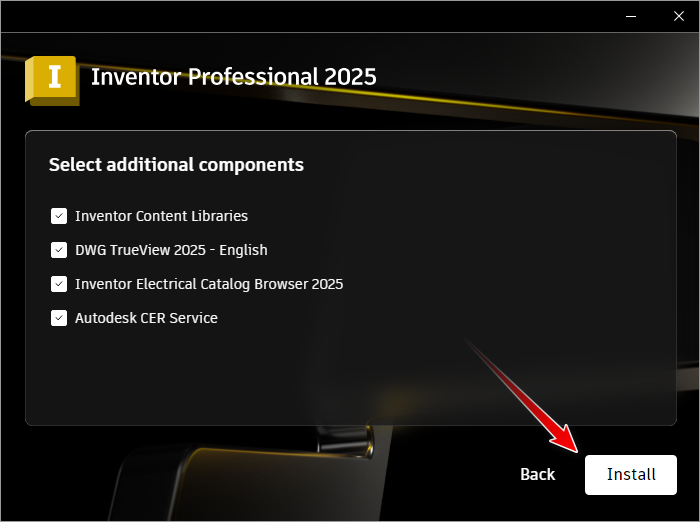
12. Select the optional components you’d like to be included with the installation, and then press Install.
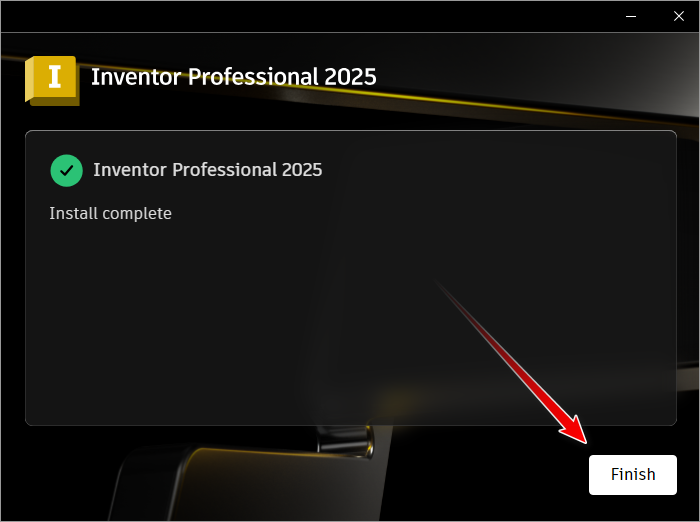
13. Press Finish to close the window after the installation is complete.
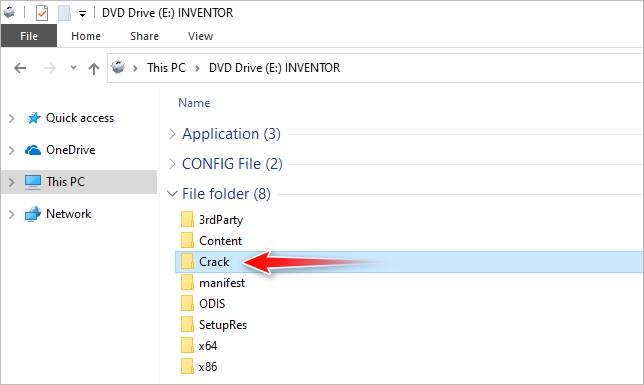
14. Return to the virtual drive and open the folder shown below.
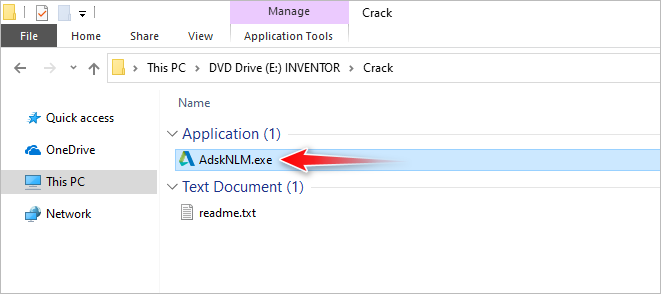
15. Double-click the AdskNLM. If the UAC prompt appears, press Yes.
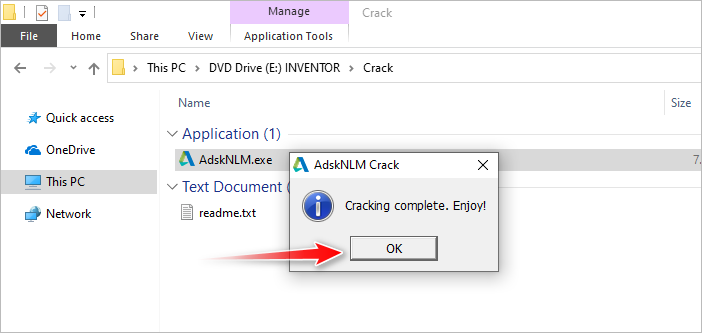
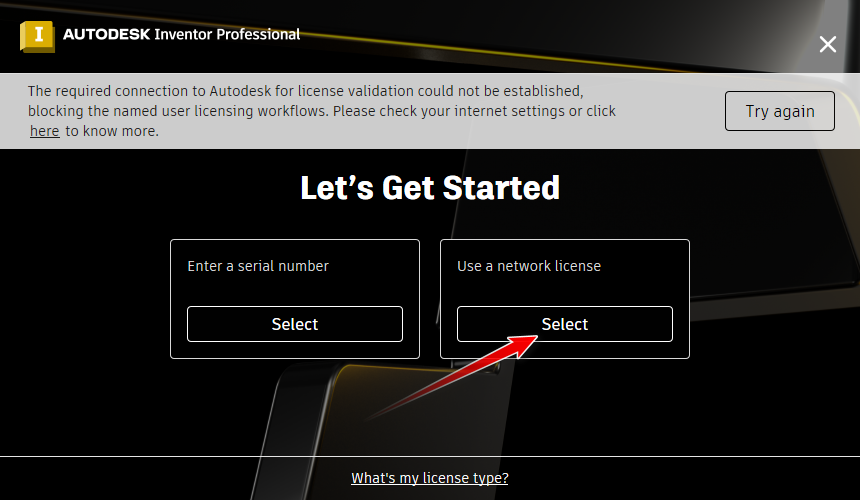
16. Wait until the window shown below pops up on your screen, then click OK.
17. Launch the software and make sure to click Use a network license.
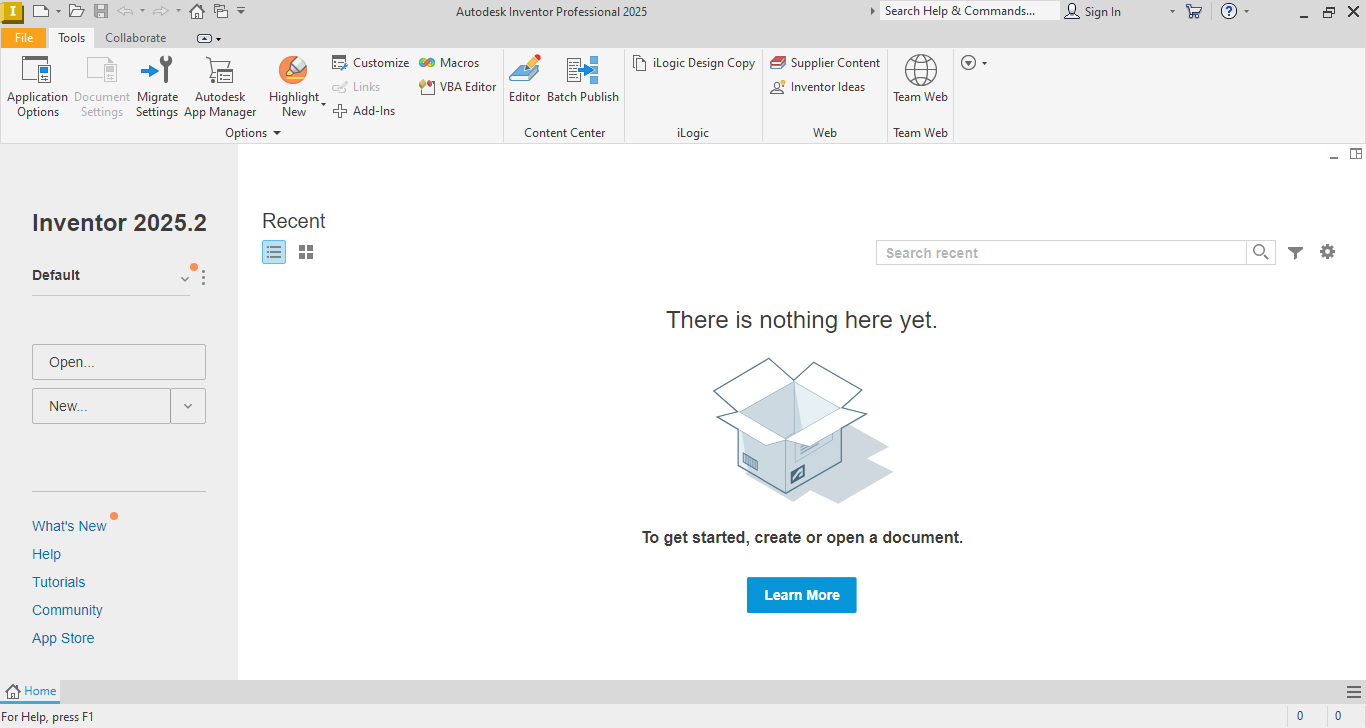
18. Autodesk Inventor Professional 2025 is now activated.

Leave a Comment