
How to Install and Activate MAGIX VEGAS Pro 22.0
Written by Marteen Roose
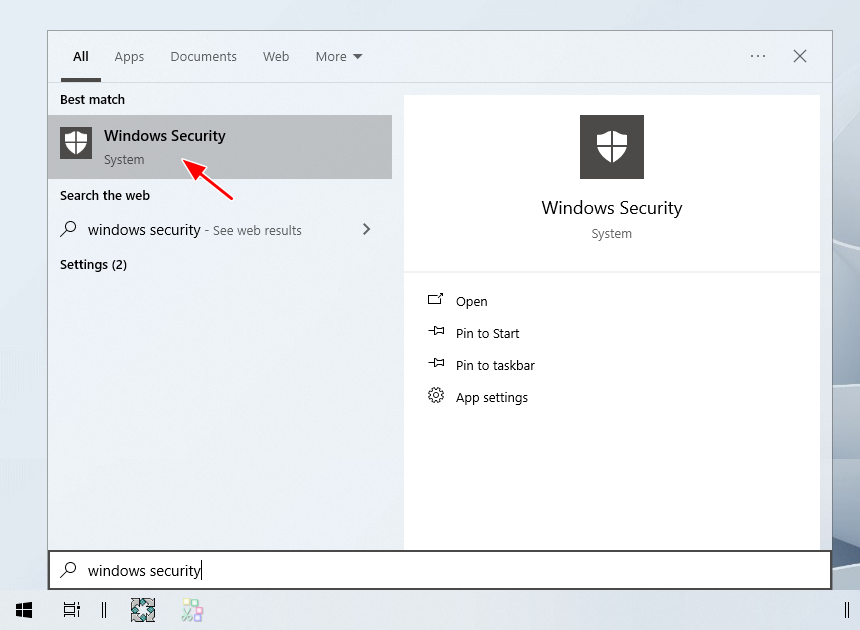
1. Disable your antivirus before installing MAGIX VEGAS Pro 22.0. To begin, open Windows Security from the Start menu.
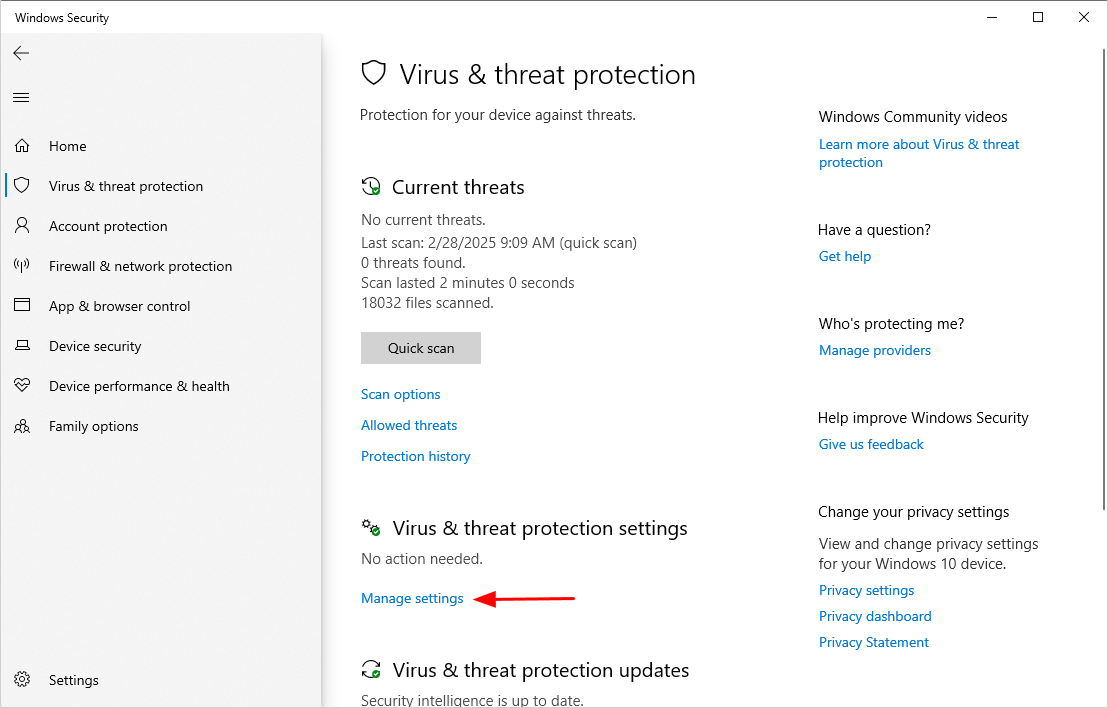
2. Click the Manage settings menu located under Virus & threat protection settings.
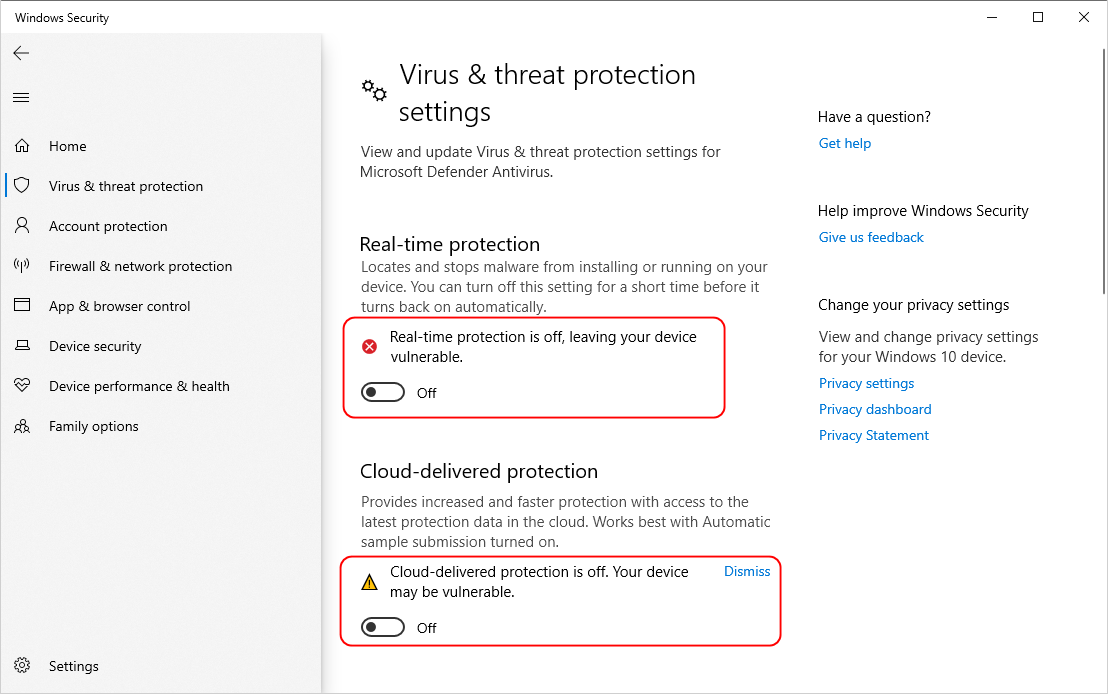
3. Disable Real-time protection and the other security features in the window.
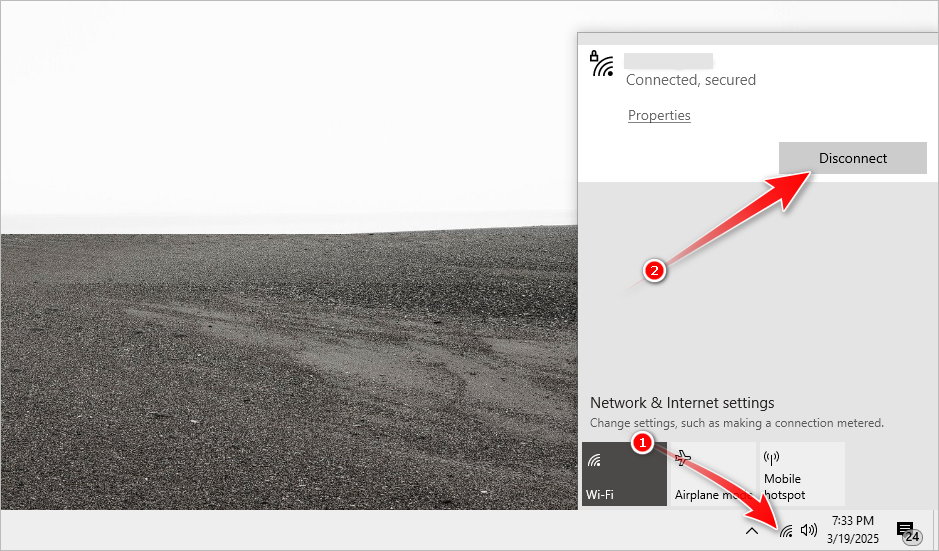
4. Disconnect your internet connection if it is still running.
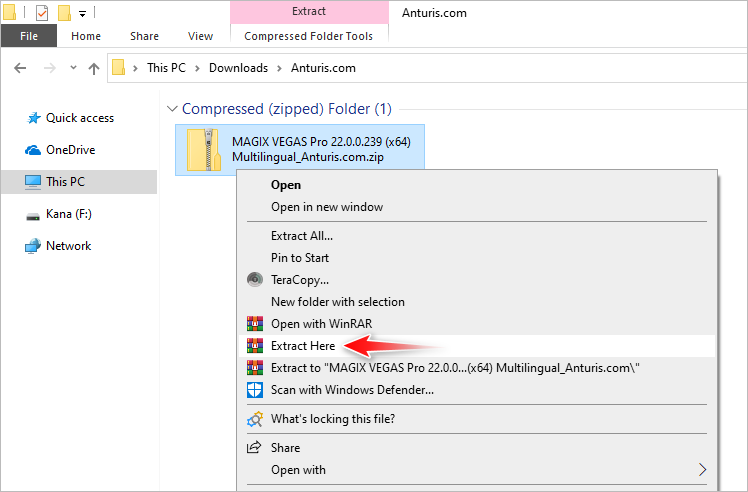
5. Right-click on the compressed file and select Extract Here or Extract to. The password for extracting it is 123.
6. Open the extracted folder, double-click Setup, and press Yes if the UAC prompt shows up.

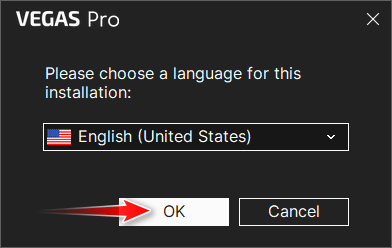
7. Click OK to use the default language.
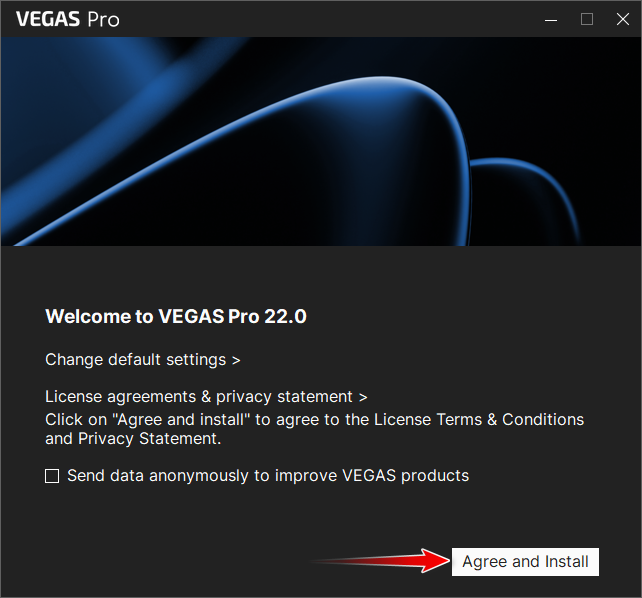
8. Make sure that the checkbox is unchecked before clicking the Agree and Install button.
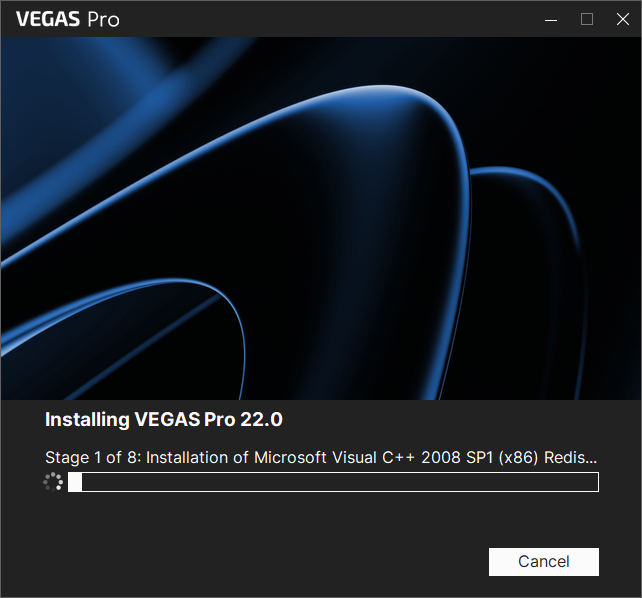
9. Let the installation running until it is complete.
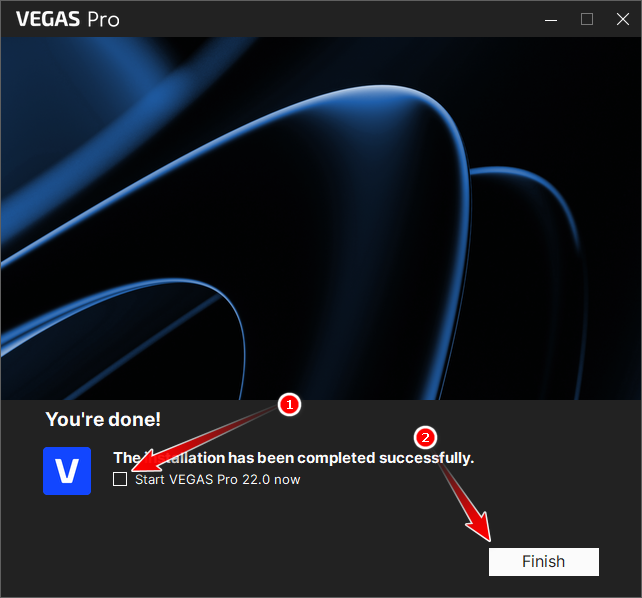
10. Uncheck the checkbox. This will change the button name from Let’s get started to Finish. Click the Finish button.
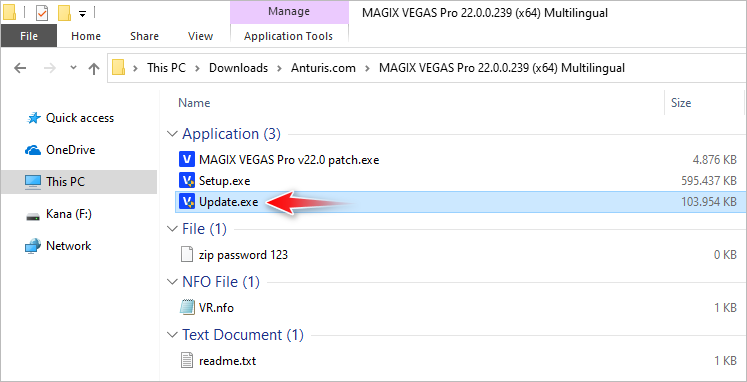
11. Return to the folder containing the installer and double-click Update. If the UAC notification pops up, hit Yes.
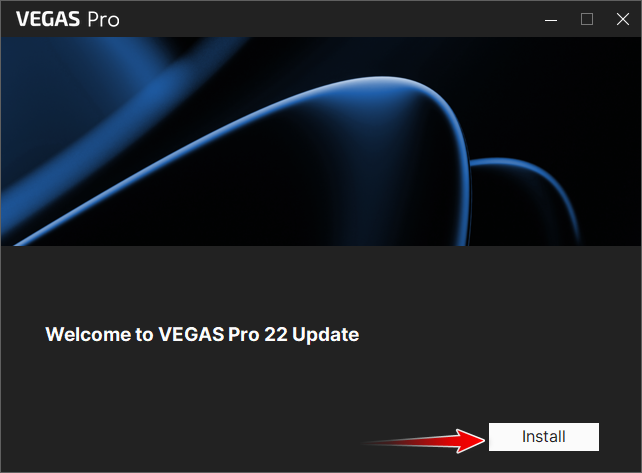
12. When the following window appear, press Install and wait until the update is fully installed.
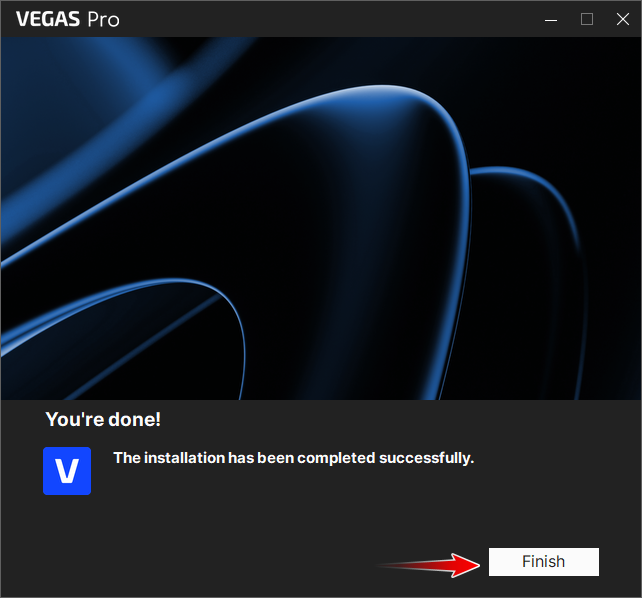
13. After the update is complete, hit Finish.
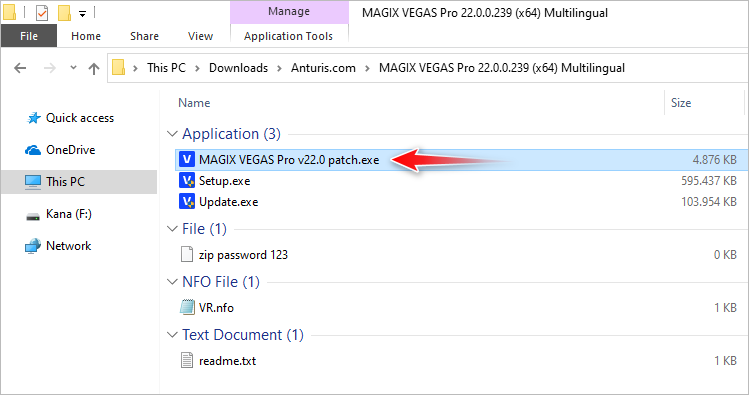
14. Return to the folder in File Explorer, but this time you need to double-click the executable file shown below.
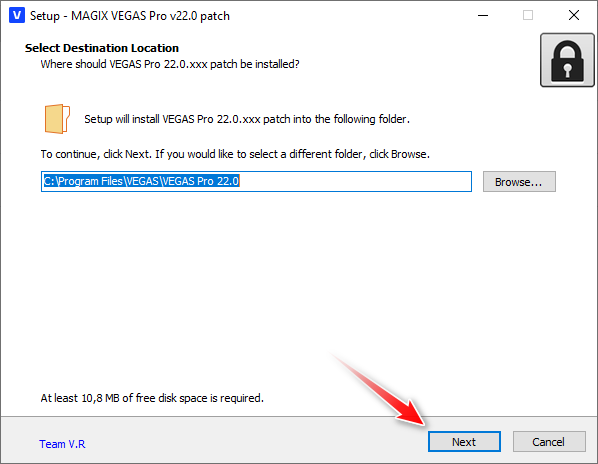
15. Click Next.
16. Click Finish to restart your computer immediately, but make sure you have saved whatever you’re working on before doing so.

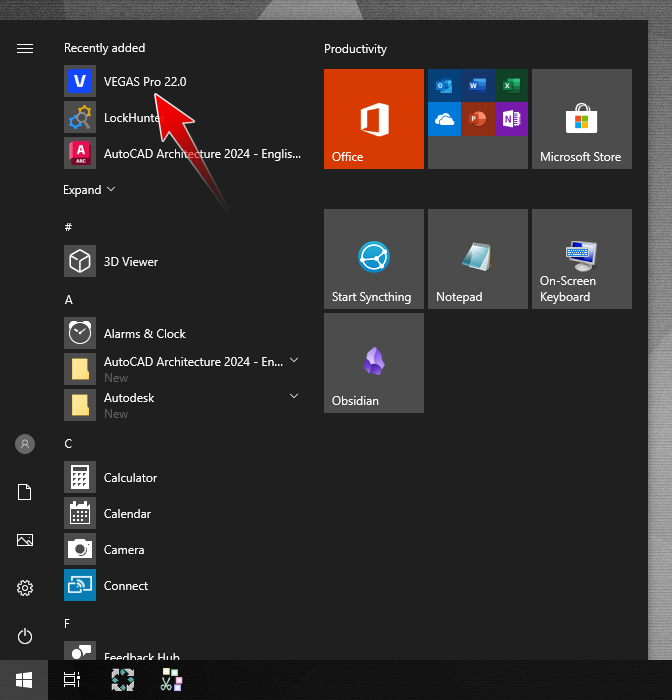
17. After the computer restarts, launch MAGIX VEGAS Pro.
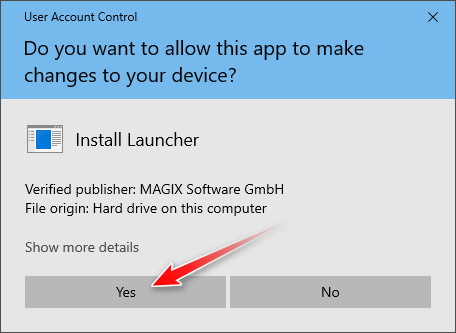
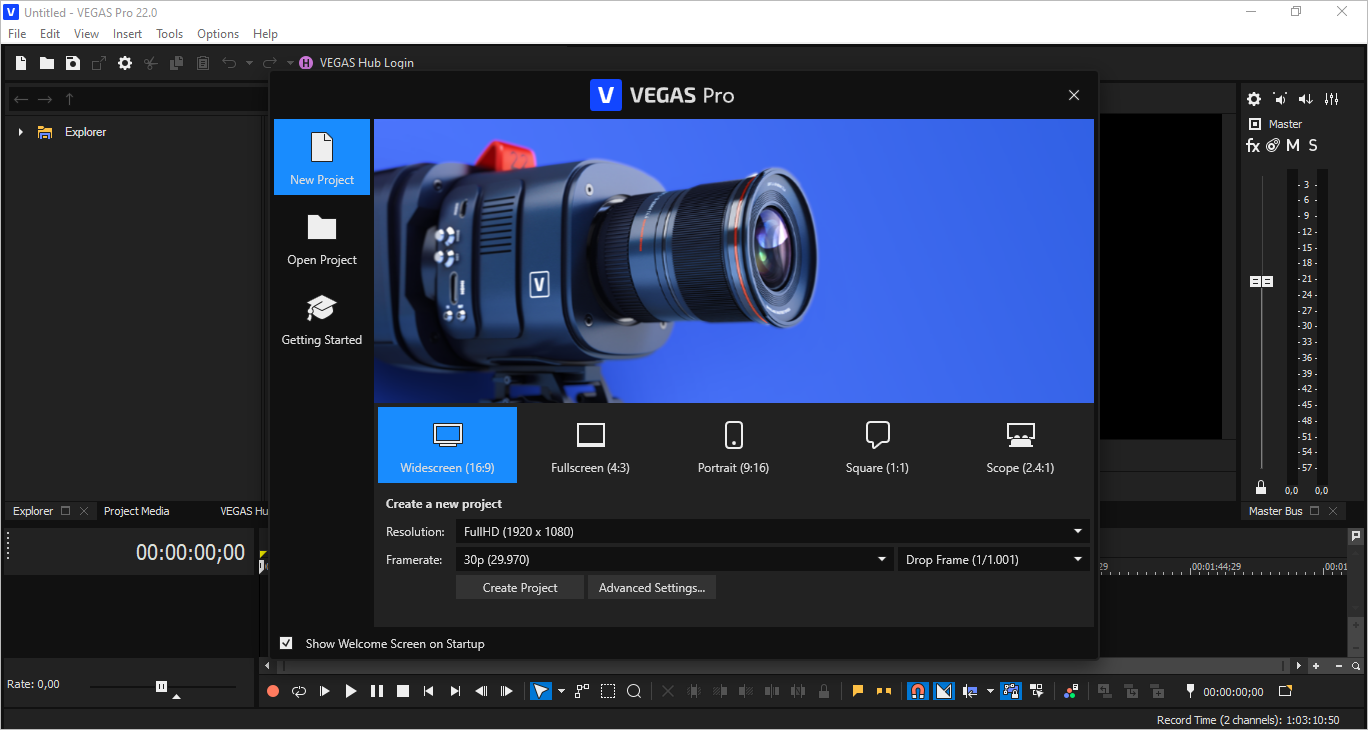
18. Click Yes and wait until the main window of the program opens.
19. MAGIX VEGAS Pro 22.0 is now activated. Have fun!

Leave a Comment